
RV Roof Inspection and Resealing: A Shop Guide
How RV shops inspect and reseal EPDM, TPO, fiberglass and aluminum roofs: what to check, manufacturer intervals, leak signs, and how to document and quote it.
On this page
Most RV water damage starts on the roof, and most of it starts small: a hairline crack in the sealant around a vent, a lifted edge at a termination bar, a gap where a solar wire passes through. By the time the owner sees a stain on the ceiling, the reseal has often turned into a deck repair.
This guide is for shops that want to treat roof service as a standard job rather than a one-off favor: the same inspection on every rig, the same notes, the same photos, and a quote the customer can follow. It also gives your advisors plain language for explaining to an owner why a roof that looks fine from the ground still needs attention.
Know the roof before you climb on itLink to the section “Know the roof before you climb on it”
The first line on a roof inspection should be the roof type, because it decides what you clean with, what you seal with and whether you can walk on it. When it isn’t obvious, the owner’s manual, the build sheet or the manufacturer’s customer service (with the VIN) will tell you.
| Roof | What it is | Service notes |
|---|---|---|
| EPDM | A rubber membrane glued to roof decking. | Dicor’s guidance for its EPDM membrane: clean with a rubber roof cleaner, don’t use acetone or citrus cleaners, and don’t use silicone, which it says will not adhere. |
| TPO | A thermoplastic membrane glued to roof decking. Keystone’s 2027 manual describes its roofs this way. | Dicor gives the same cleaning cautions for its TPO membrane, and the same warning that silicone will not adhere. |
| Fiberglass | A molded or laminated hard roof, common on some motorhomes. | No membrane to condition, but every seam and fixture still relies on sealant. Use only the sealant the RV manufacturer specifies for that surface. |
| Aluminum | Metal sheet roofing with seams and fasteners. | Seams, fasteners and fixtures are the leak paths. Follow the manufacturer’s sealant specification. |
One rule holds across all four. Jayco’s manuals tell owners to always use the same type of sealant that was removed, and Keystone’s manual warns that two different sealants on top of each other may look sealed while water slips between them. Matching the original product is part of the job, not a detail.
How often manufacturers say to inspectLink to the section “How often manufacturers say to inspect”
There is no single industry interval, so don’t invent one for your customers. Here is what two large manufacturers publish:
- Jayco tells owners to inspect all sealants a minimum of every six months, including the roof, moldings, doors, vents and exterior attachments. Its Class C manual adds: reseal at least once a year as preventive maintenance, and notes that sealants do not have set lifetimes.
- Keystone recommends a full exterior inspection at least twice a year and a roof inspection every three months. Its owner’s manual also calls for six-monthly checks of window sealant, wall attachments and the slide-out box.
The interval matters for more than leaks. Jayco’s towable manual states that water damage from failing to maintain or reseal the RV is not covered by its limited warranty. When an owner needs to show the roof was looked after, a dated inspection with photos from your shop is the evidence they’ll reach for.
Work safely at heightLink to the section “Work safely at height”
Roof work is ladder work, and OSHA’s portable ladder guidance applies in your yard as much as on a job site: keep three points of contact while climbing, face the ladder, set it on a stable and level surface, and use an extension ladder that reaches at least three feet above the point where you step off. OSHA puts the base of the ladder a quarter of its working length out from the wall.
Two RV-specific cautions. Don’t assume a roof is walkable: Jayco says its roofs have decking that allows walking on them with caution, but that is one manufacturer’s construction, so check the manual for the rig in front of you. And Jayco tells owners not to prop a ladder against the body of the RV when checking sidewall sealant, because it can damage the finish; use a stepladder set up alongside instead.
What to inspect, point by pointLink to the section “What to inspect, point by point”
Winnebago’s 2025 service bulletin on roof sealant gives a useful short list of the areas to check and the defects to look for. Combined with the sealant points in Dicor’s installation guides and the Jayco and Keystone manuals, it makes a complete roof checklist:
- Lap sealant around every roof vent, vent cap and fan
- Skylights, including taller flanges where a non-sag sealant may be used
- TV and Wi-Fi antennas, satellite mounts and other accessories
- Solar panel mounts and solar wire passthroughs
- Plumbing vent pipes, plus refrigerator and holding tank vents for nests, webs or debris
- Air conditioner mounting: Jayco says the unit sits on a foam gasket and its bolts should be checked at least annually without overtightening
- Front and rear termination bars and the ends of each molding
- The top edge of the side roof molding, the full length of both sides
- Membrane seams (Winnebago lists TPO seams specifically) and every exposed screw head
- The roofs of each slide-out box, which Keystone reminds owners have their own roof, walls and moldings
- The membrane itself: tears, punctures, loose areas and soft spots underfoot
At each point you are looking for the defects Winnebago’s bulletin and Jayco’s manual name: cracks, voids, gaps, bubbles, sagging, peeling, looseness and shrinkage. Keystone notes that small air pockets or visible spots in a new roof membrane are usually cosmetic, caused by debris or imperfections under the membrane. Note them, but don’t sell them as leaks.
Signs water is already getting inLink to the section “Signs water is already getting in”
An exterior inspection tells you where water could get in. The interior tells you whether it already has. Check before you go up:
- Stains, streaks or discoloration on the ceiling, especially around vents, skylights and the air conditioner.
- Soft or spongy spots in the ceiling, the roof deck underfoot or the floor below a window or corner.
- Swollen or loose trim, and staining around windows. Keystone tells owners to check the interior around windows after rain.
- Bubbles or waviness in fiberglass sidewalls, which can mean the wall laminate has separated.
- A musty smell in cabinets and closets on the exterior walls.
If you find any of these, the job is no longer just a reseal. Jayco’s Class C manual tells owners that water found inside should be traced to its source immediately, and that leak damage left uncorrected may not be covered. Quote the leak investigation as its own line and price any structural repair after you know what is under the membrane.
What a reseal involvesLink to the section “What a reseal involves”
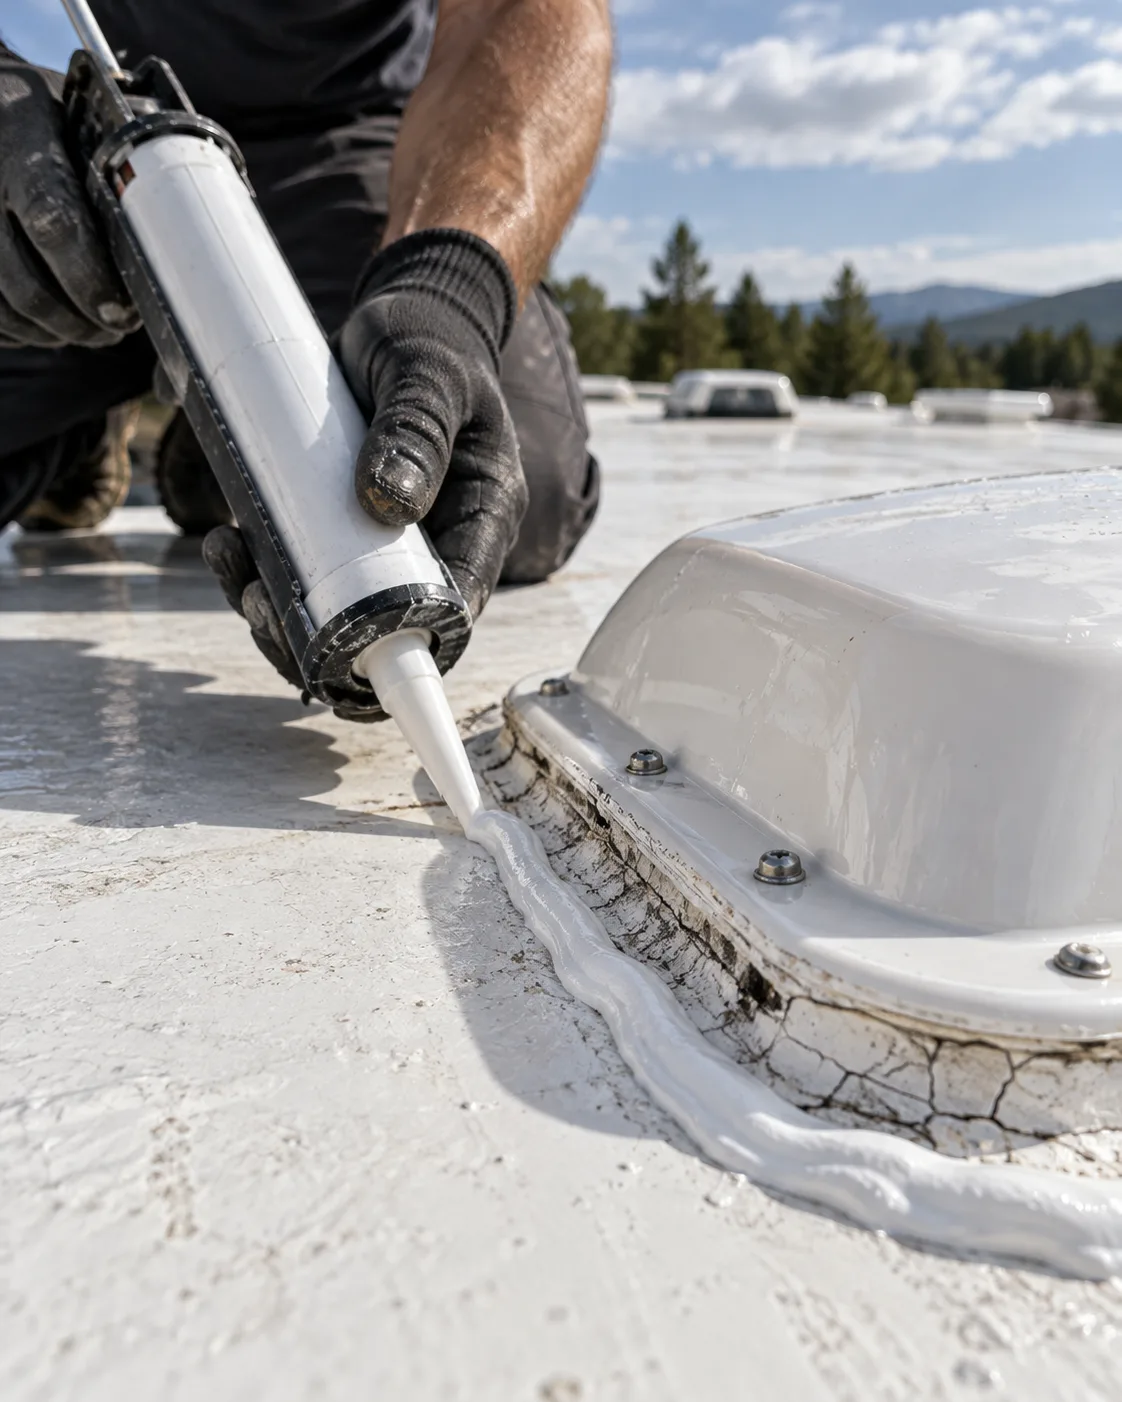
A reseal is not a fresh bead of caulk over whatever is there. Done properly, it follows the same order every time:
- Clean. Use the cleaner the membrane maker specifies. Dicor recommends its rubber roof cleaner for both its EPDM and TPO membranes, warns against acetone and citrus cleaners, and says not to let any cleaning solvent sit on the membrane.
- Remove failed sealant. Take off sealant that is cracked, lifted or no longer bonded. Keystone’s manual recommends either matching the original sealant or removing all of the old seal, cleaning the area and applying all new sealant, because two products that don’t bond can leave a path for water.
- Use a compatible sealant. On membrane roofs, Dicor specifies a self-leveling lap sealant for horizontal surfaces and notes that its non-leveling sealant may suit taller flanges such as antennas and some skylights. Its guides say silicone will not adhere to its EPDM or TPO membranes.
- Reset anything you remove. If a vent or fixture comes off, Dicor’s installation guides call for butyl tape under all vents and accessories before the lap sealant goes on.
- Let it cure and check it. Follow the cure time on the sealant you used before the rig sees rain or goes back in storage, then photograph the finished work.
What to tell the customerLink to the section “What to tell the customer”
Owners see the roof less than anyone. A few points from the manufacturers are worth passing on at pickup:
- Inspect or have the roof inspected on the interval in their owner’s manual, and walk around the rig after a big storm.
- Clean the roof only with the products the roof maker recommends. Dicor, for example, says not to use acetone or citrus cleaners on its membranes.
- Don’t park for long periods under trees: Dicor notes that sap and fruit can stain its membranes.
- Clear heavy snow and ice carefully. Jayco tells owners to remove snow of 8 inches or more and ice of 2 inches or more, without damaging the roof material.
- Call the shop as soon as they see water inside. A small reseal is a far easier job than a soft deck.
If the rig is going into storage for the winter, the roof check pairs naturally with winterizing. Our RV winterization service checklist covers the rest of that visit.
Document it and quote itLink to the section “Document it and quote it”
Roof work is hard for a customer to picture, because they can’t see it. Photos of each finding do most of the explaining for you. In RVDesk, a technician works through a digital inspection on a phone, marking what passed, what needs attention and what is urgent, with photos against each finding. The customer gets a link that shows the same findings in plain language, and the items that need doing carry across to the estimate without re-typing.
Quote the roof the way you inspected it: one line per item. A customer can then approve the reseal around the air conditioner now and leave the cosmetic membrane spot for later. With RVDesk estimates, approval is per job, the customer approves from a link without an account, and the approval is recorded with a timestamp against the work order. Canned jobs keep the roof inspection and standard reseal lines the same every time.
| Line | What it covers |
|---|---|
| Roof inspection | The full checklist above, with photos and written findings. |
| Clean and prep | Cleaning with the membrane maker’s specified products before any sealant work. |
| Sealant removal and reseal | Labor plus sealant, listed per area (each vent, skylight, edge or seam) so the scope is clear. |
| Component repairs | A cracked vent lid, a damaged skylight or a failed antenna mount, each as its own line. |
| Leak investigation | Only when there are interior signs of water. Structural repair is quoted after diagnosis. |
Price each line from your own labor rate and material cost. When a customer declines a line, it stays in the service history on their customer record, and the photos stay with the work order, so the next advisor who sees the rig knows exactly what was recommended.
Common questionsLink to the section “Common questions”
How often should an RV roof be inspected?
Follow the owner’s manual for the specific unit, because manufacturers differ. Jayco’s manuals call for inspecting all sealants at least every six months and resealing at least once a year as preventive maintenance. Keystone recommends a roof inspection every three months and a full exterior inspection at least twice a year.
Can you use silicone on an RV rubber roof?
Dicor’s installation guides say silicone will not adhere to its EPDM or TPO roof membranes. Use the lap sealant the membrane or RV manufacturer specifies, and match the type of sealant that was there originally.
Should old sealant be removed before resealing?
Remove sealant that is cracked, lifted or no longer bonded. Keystone recommends not layering two different sealants: either use the same type and brand as the original, or remove all of the old seal, clean the area and apply all new sealant.
Is RV roof leak damage covered by warranty?
It depends on the manufacturer and the cause. Jayco’s towable owner’s manual states that water damage from failing to maintain or reseal the RV is not covered by its limited warranty. Check the warranty for the specific unit, and keep dated inspection records.
Want to see a roof inspection go from a technician’s phone to an approved estimate? Book a demo and we’ll walk through it with your shop’s roof work in mind.
Sources
- Jayco: 2025 Jayco Class C Motorhome Owner’s Manual (Sealants; Roof Mount air conditioner) (jayco.com)
- Jayco: Towable Owner’s Manual, 2026 model year (Sealants; Exterior ladder; RV storage), hosted by Heartland RVs (heartlandrvs.com)
- Keystone RV: 2027 Owner’s Manual (Section 13, Care and Maintenance) (keystonerv-prod.zaneray.com)
- Keystone RV: Exterior Seal Maintenance Guide (keystonerv.com)
- Dicor Products: Brite-Ply EPDM Rubber Roofing Retrofit Installation Guide (cleaning information, lap sealant, silicone note) (dicorproducts.com)
- Dicor Products: DiFlex II TPO Roofing Retrofit Installation Guide (dicorproducts.com)
- Winnebago Technical Service Bulletin 2025-001, Thrive Roof Sealant Concern (via NHTSA) (static.nhtsa.gov)
- OSHA: Portable Ladder Safety QuickCard (osha.gov)
We build RVDesk alongside a mobile RV repair business in Redding, California.