
RVDesk Setup Guide
Everything you need to get your shop up and running on RVDesk. Most shops are fully set up within an hour.
Create your account
Create your account
Sign up at rvdesk.net. Enter your business name, your name, email, and password. You'll also set up your first shop location during signup.
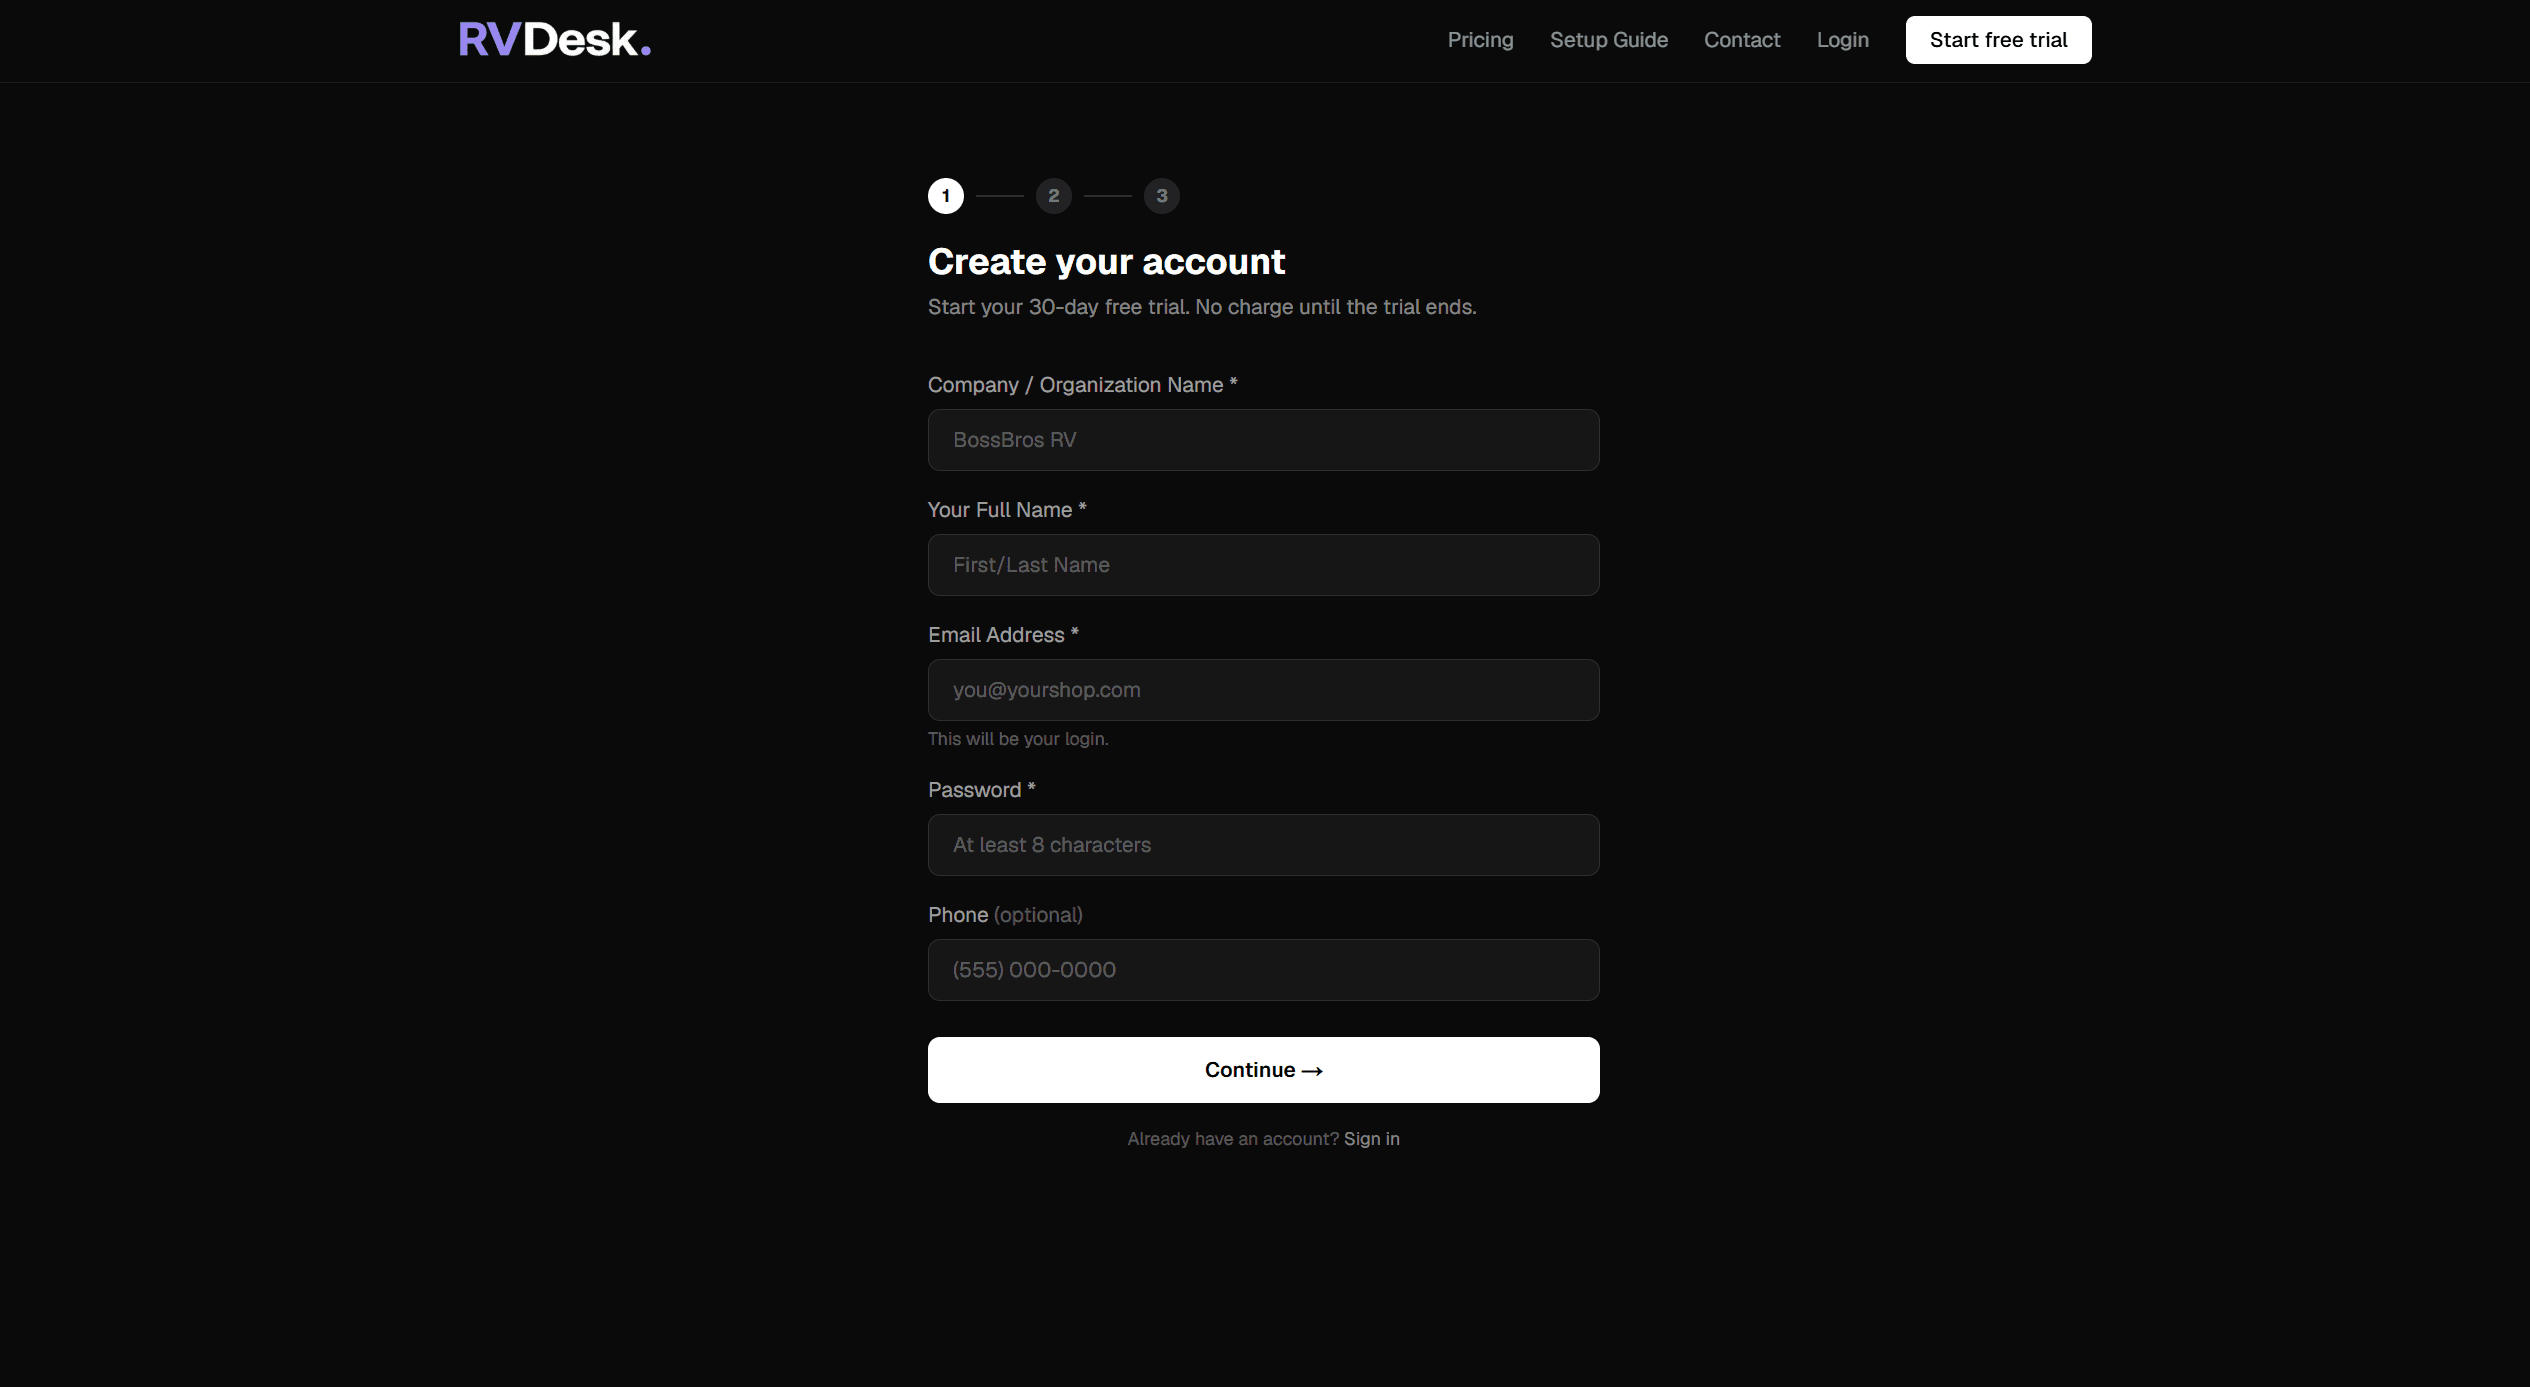
Use your business email so team members recognize where invites come from.
Set up your shop profile
Set up your shop profile
Add your shop's contact info, logo, labor rate, and tax rate. This information appears on estimates and invoices sent to customers.
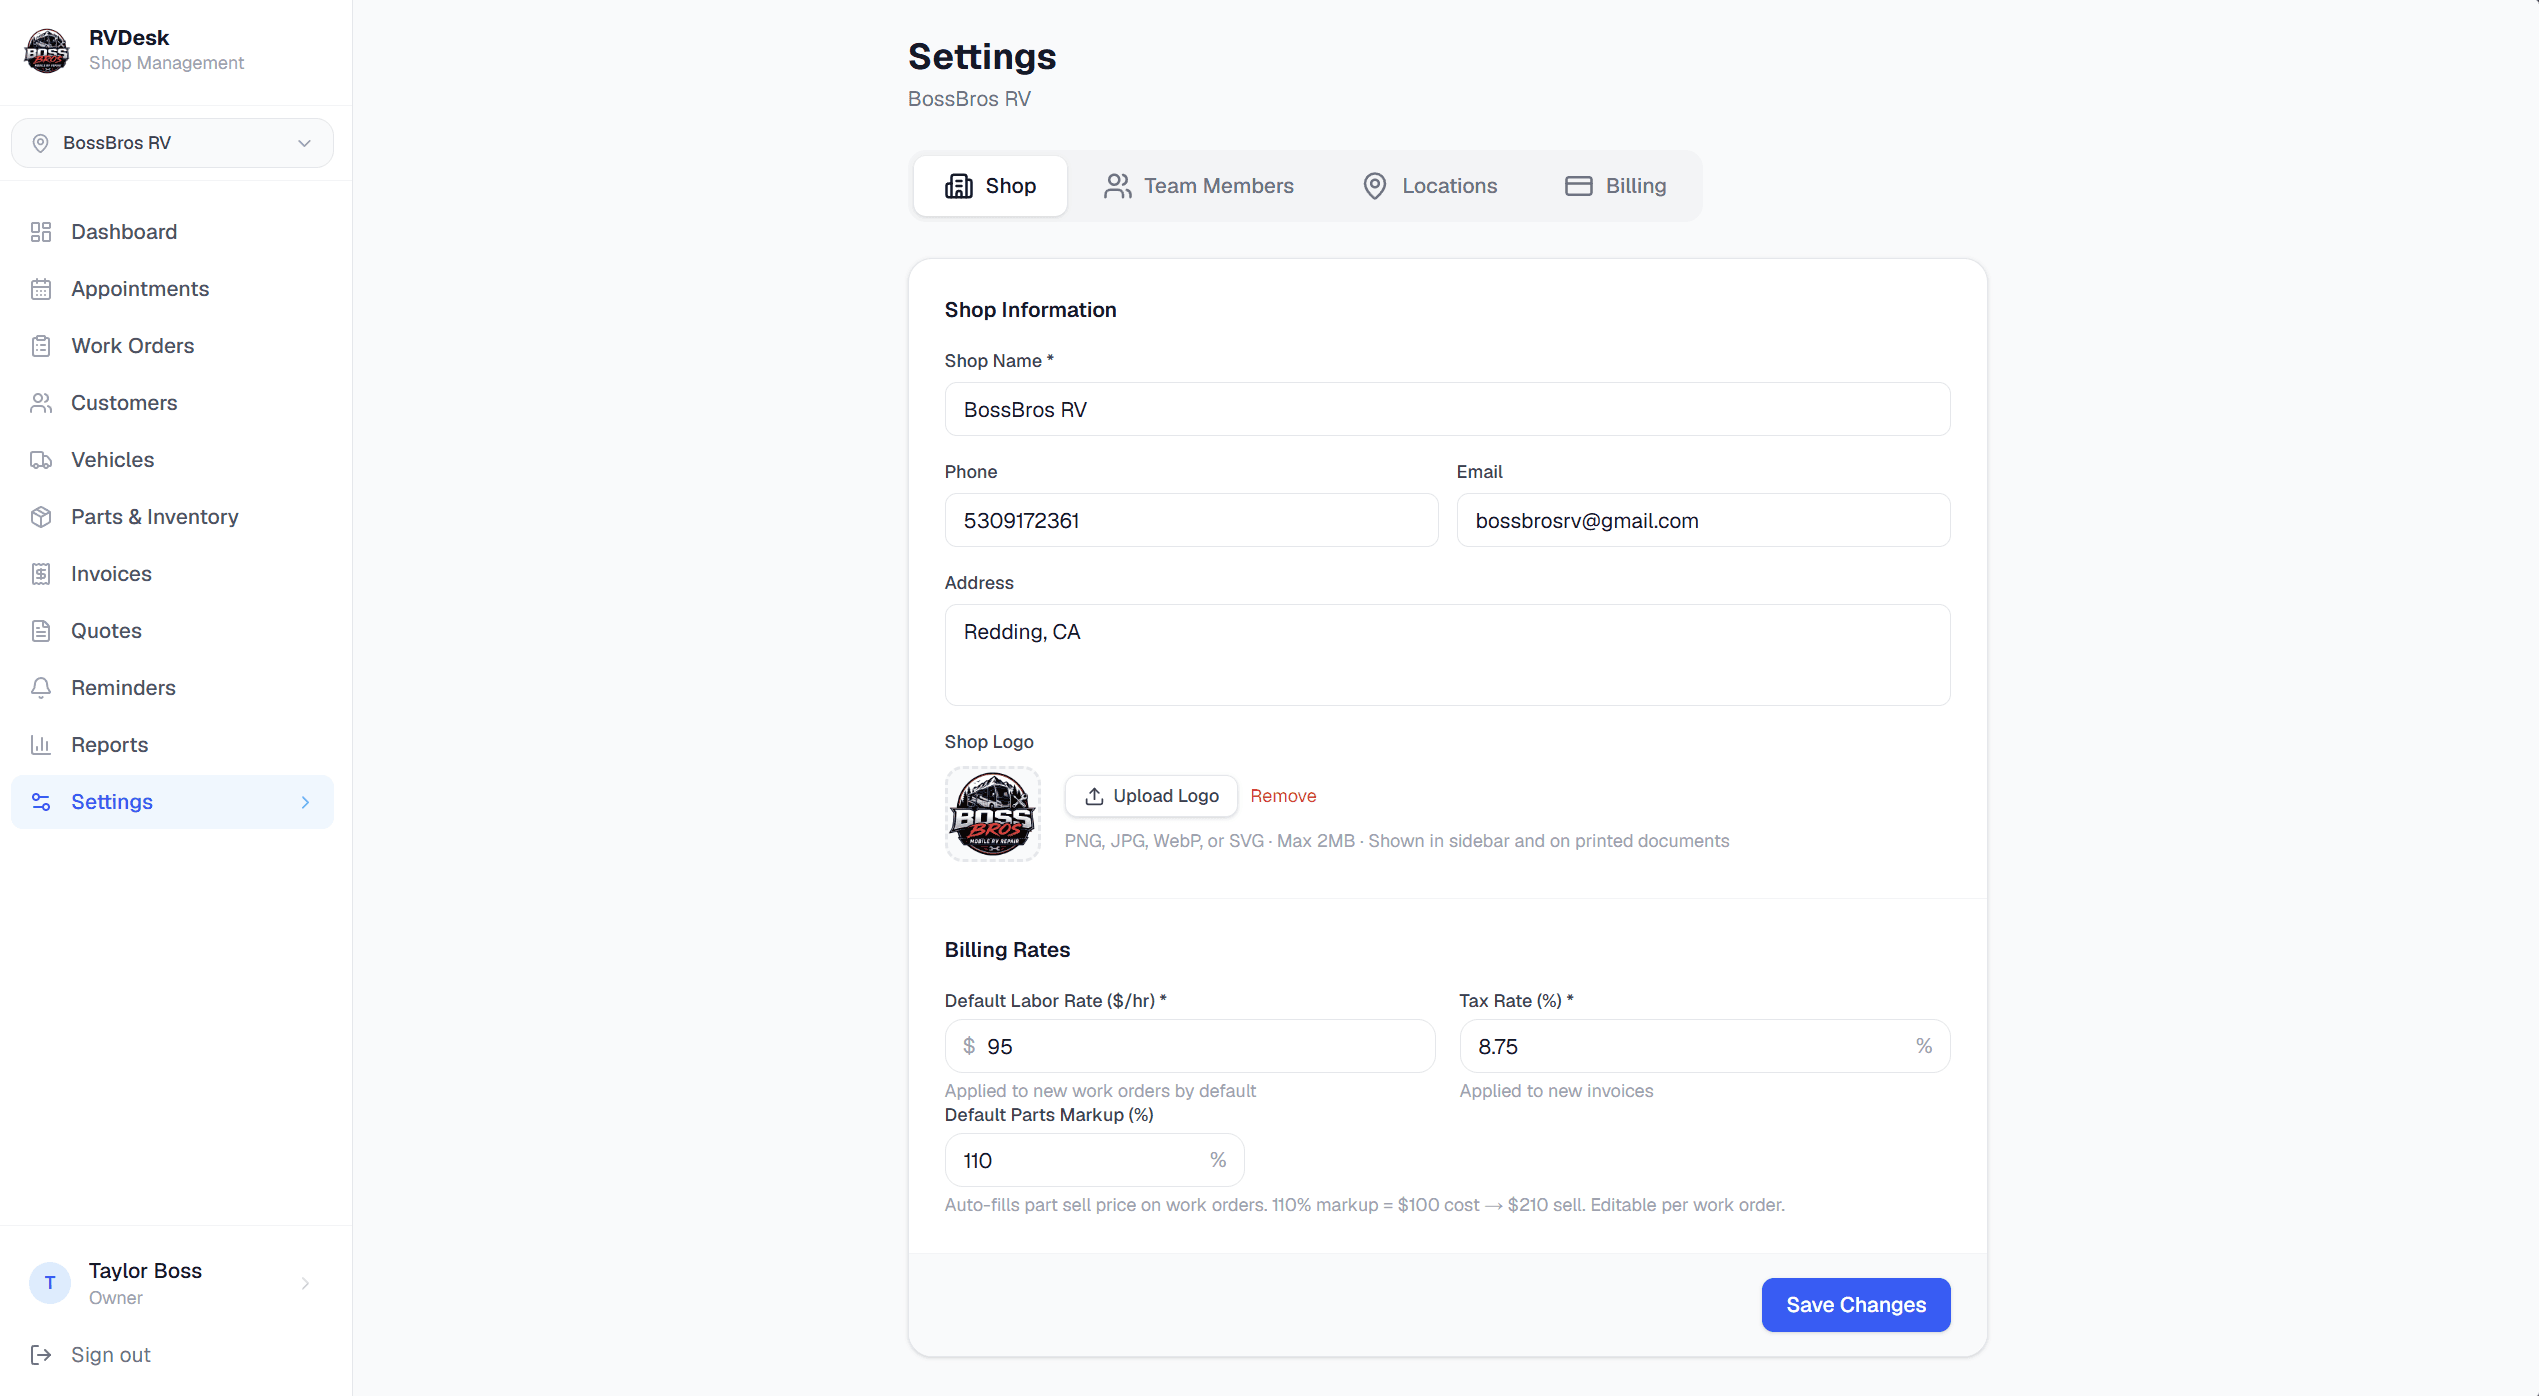
Your logo appears on every estimate and invoice emailed to customers — make sure it looks sharp.
Invite your team
Invite your team
Add technicians, service advisors, and managers. Each gets their own login with role-appropriate access.
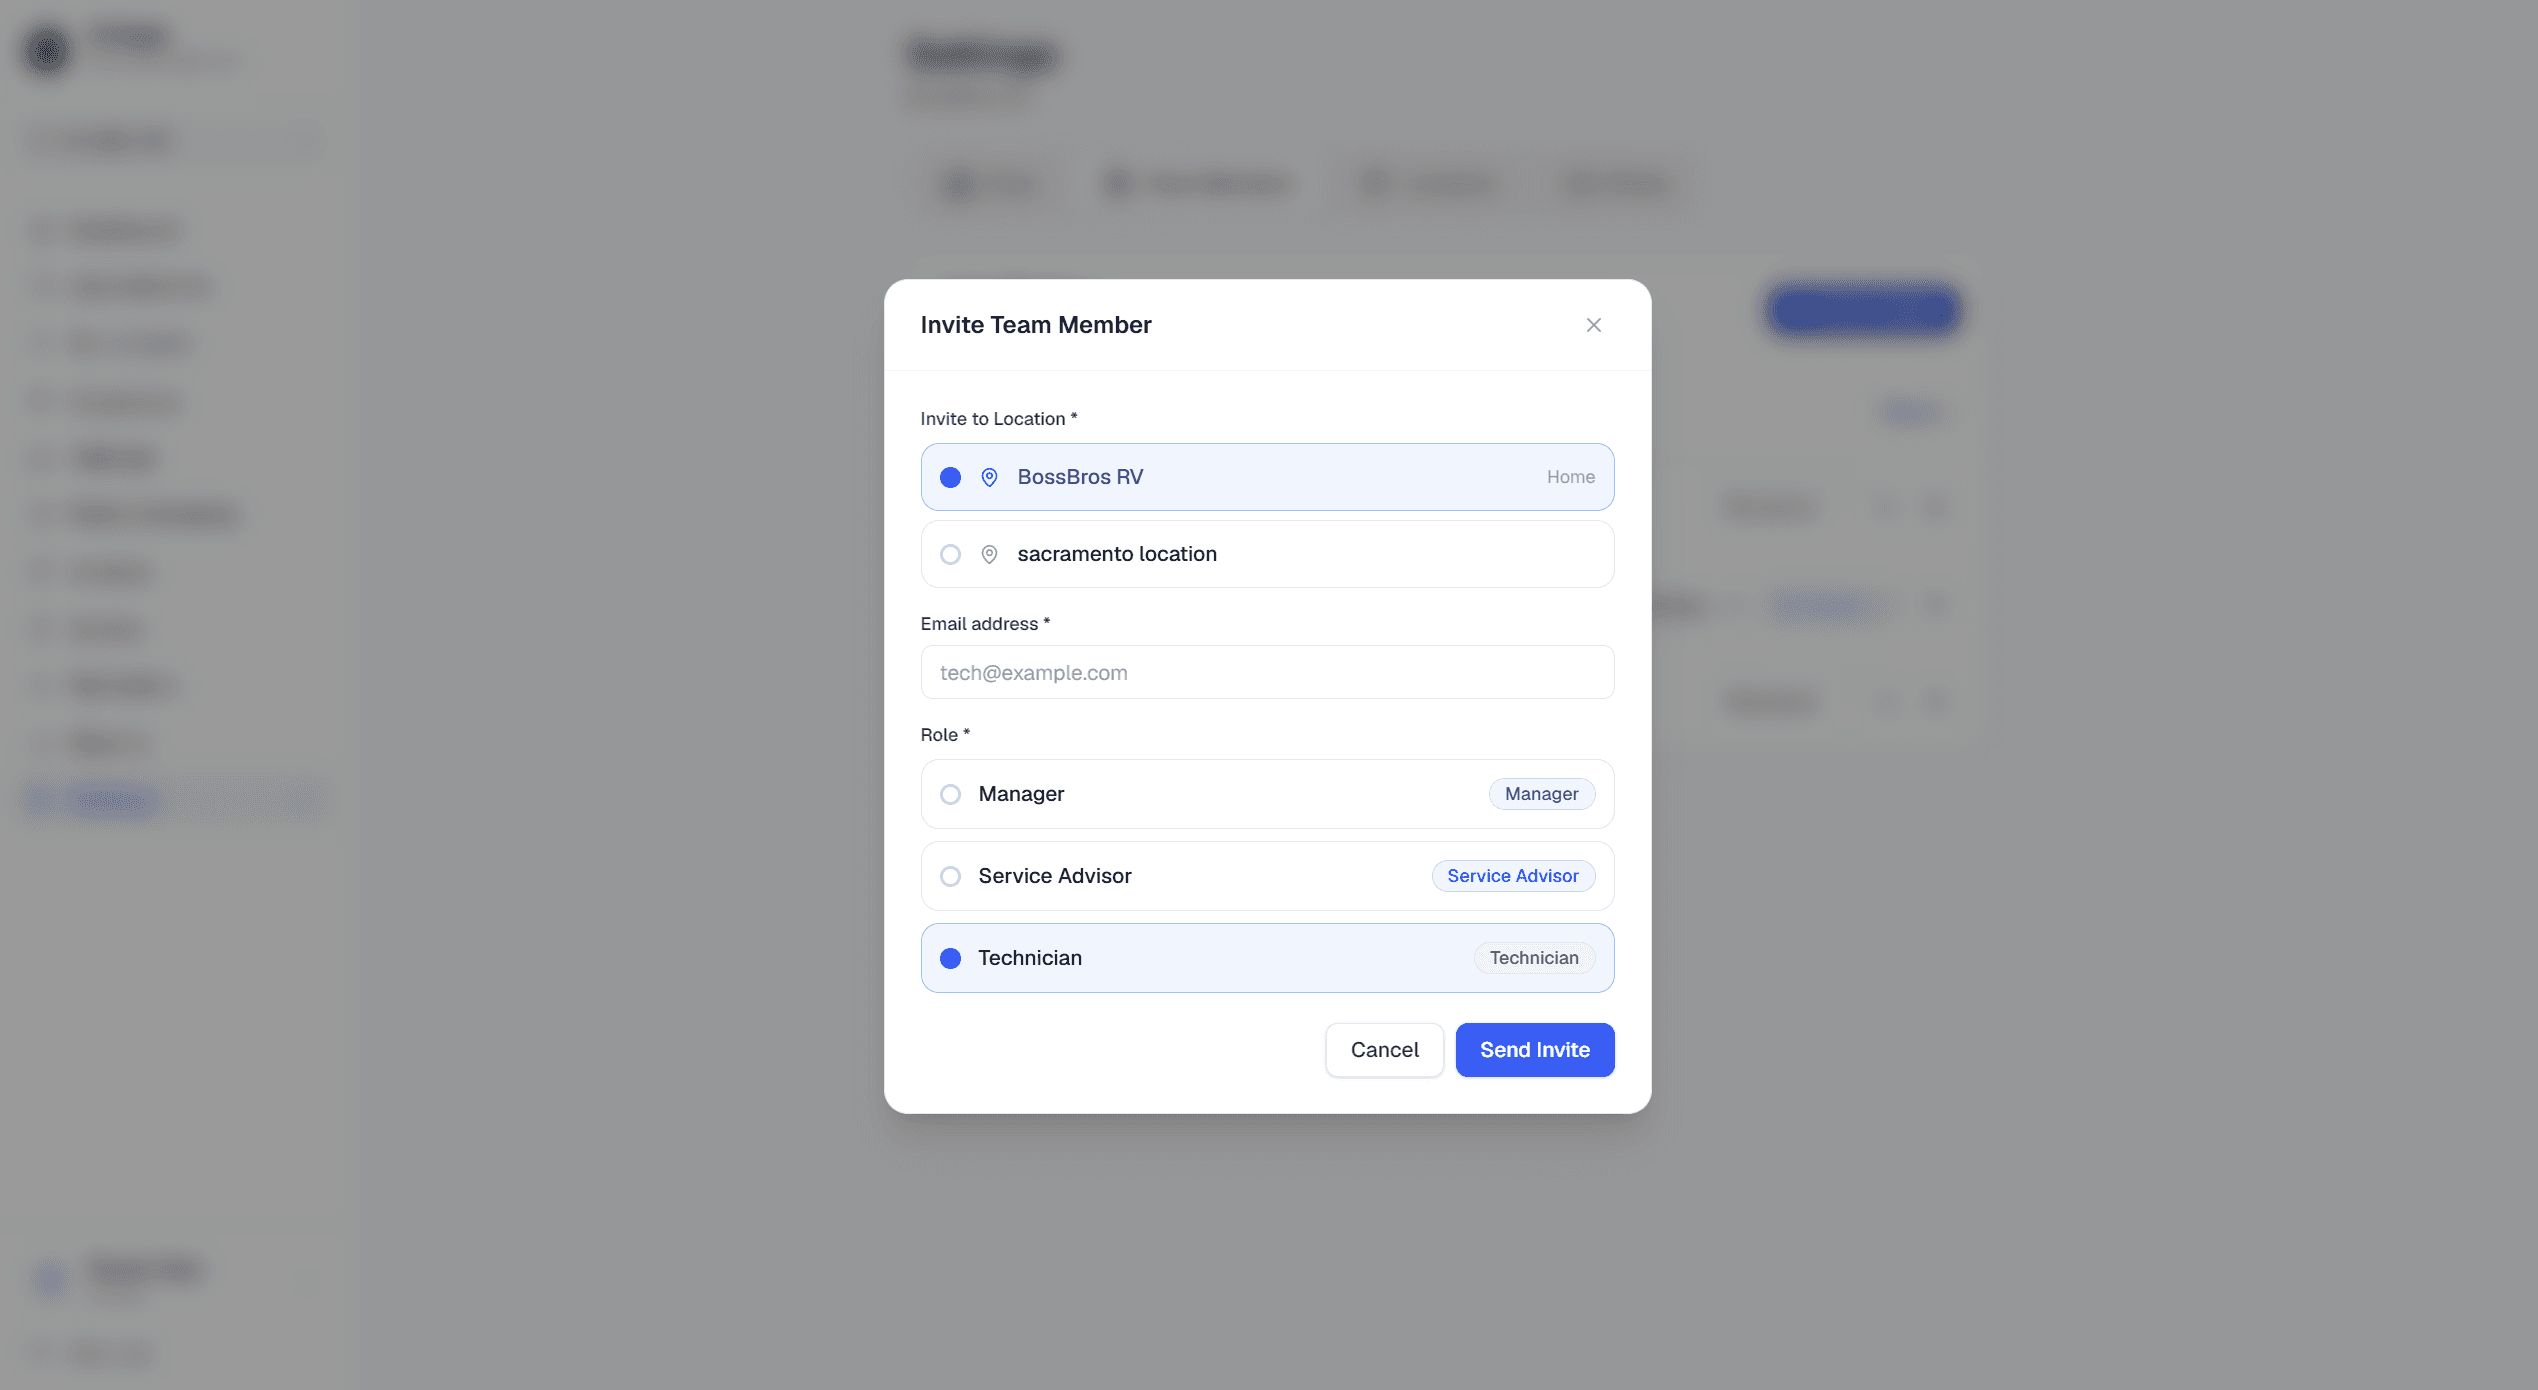
Invite technicians first. Their card view shows only assigned jobs and is optimized for tablets.
Turn on text messaging
Turn on text messaging
US carriers require the business behind every text to be registered by name before anything can send. This is the step most shops do not expect, so it is worth doing early — approval is not instant.
The legal business name has to match your EIN exactly — "Boss Brothers RV LLC", not "BossBros RV". A mismatch is the single most common reason a registration fails, and the representative must be a real person, not info@.
Connect card payments
Connect card payments
Take card payments through your own Stripe account. The money settles to your bank — RVDesk never holds it and never sees your bank details.
Cash, check and card payments all land on the same invoice ledger, so the balance is one number rather than two systems to reconcile.
Add your first customer
Add your first customer
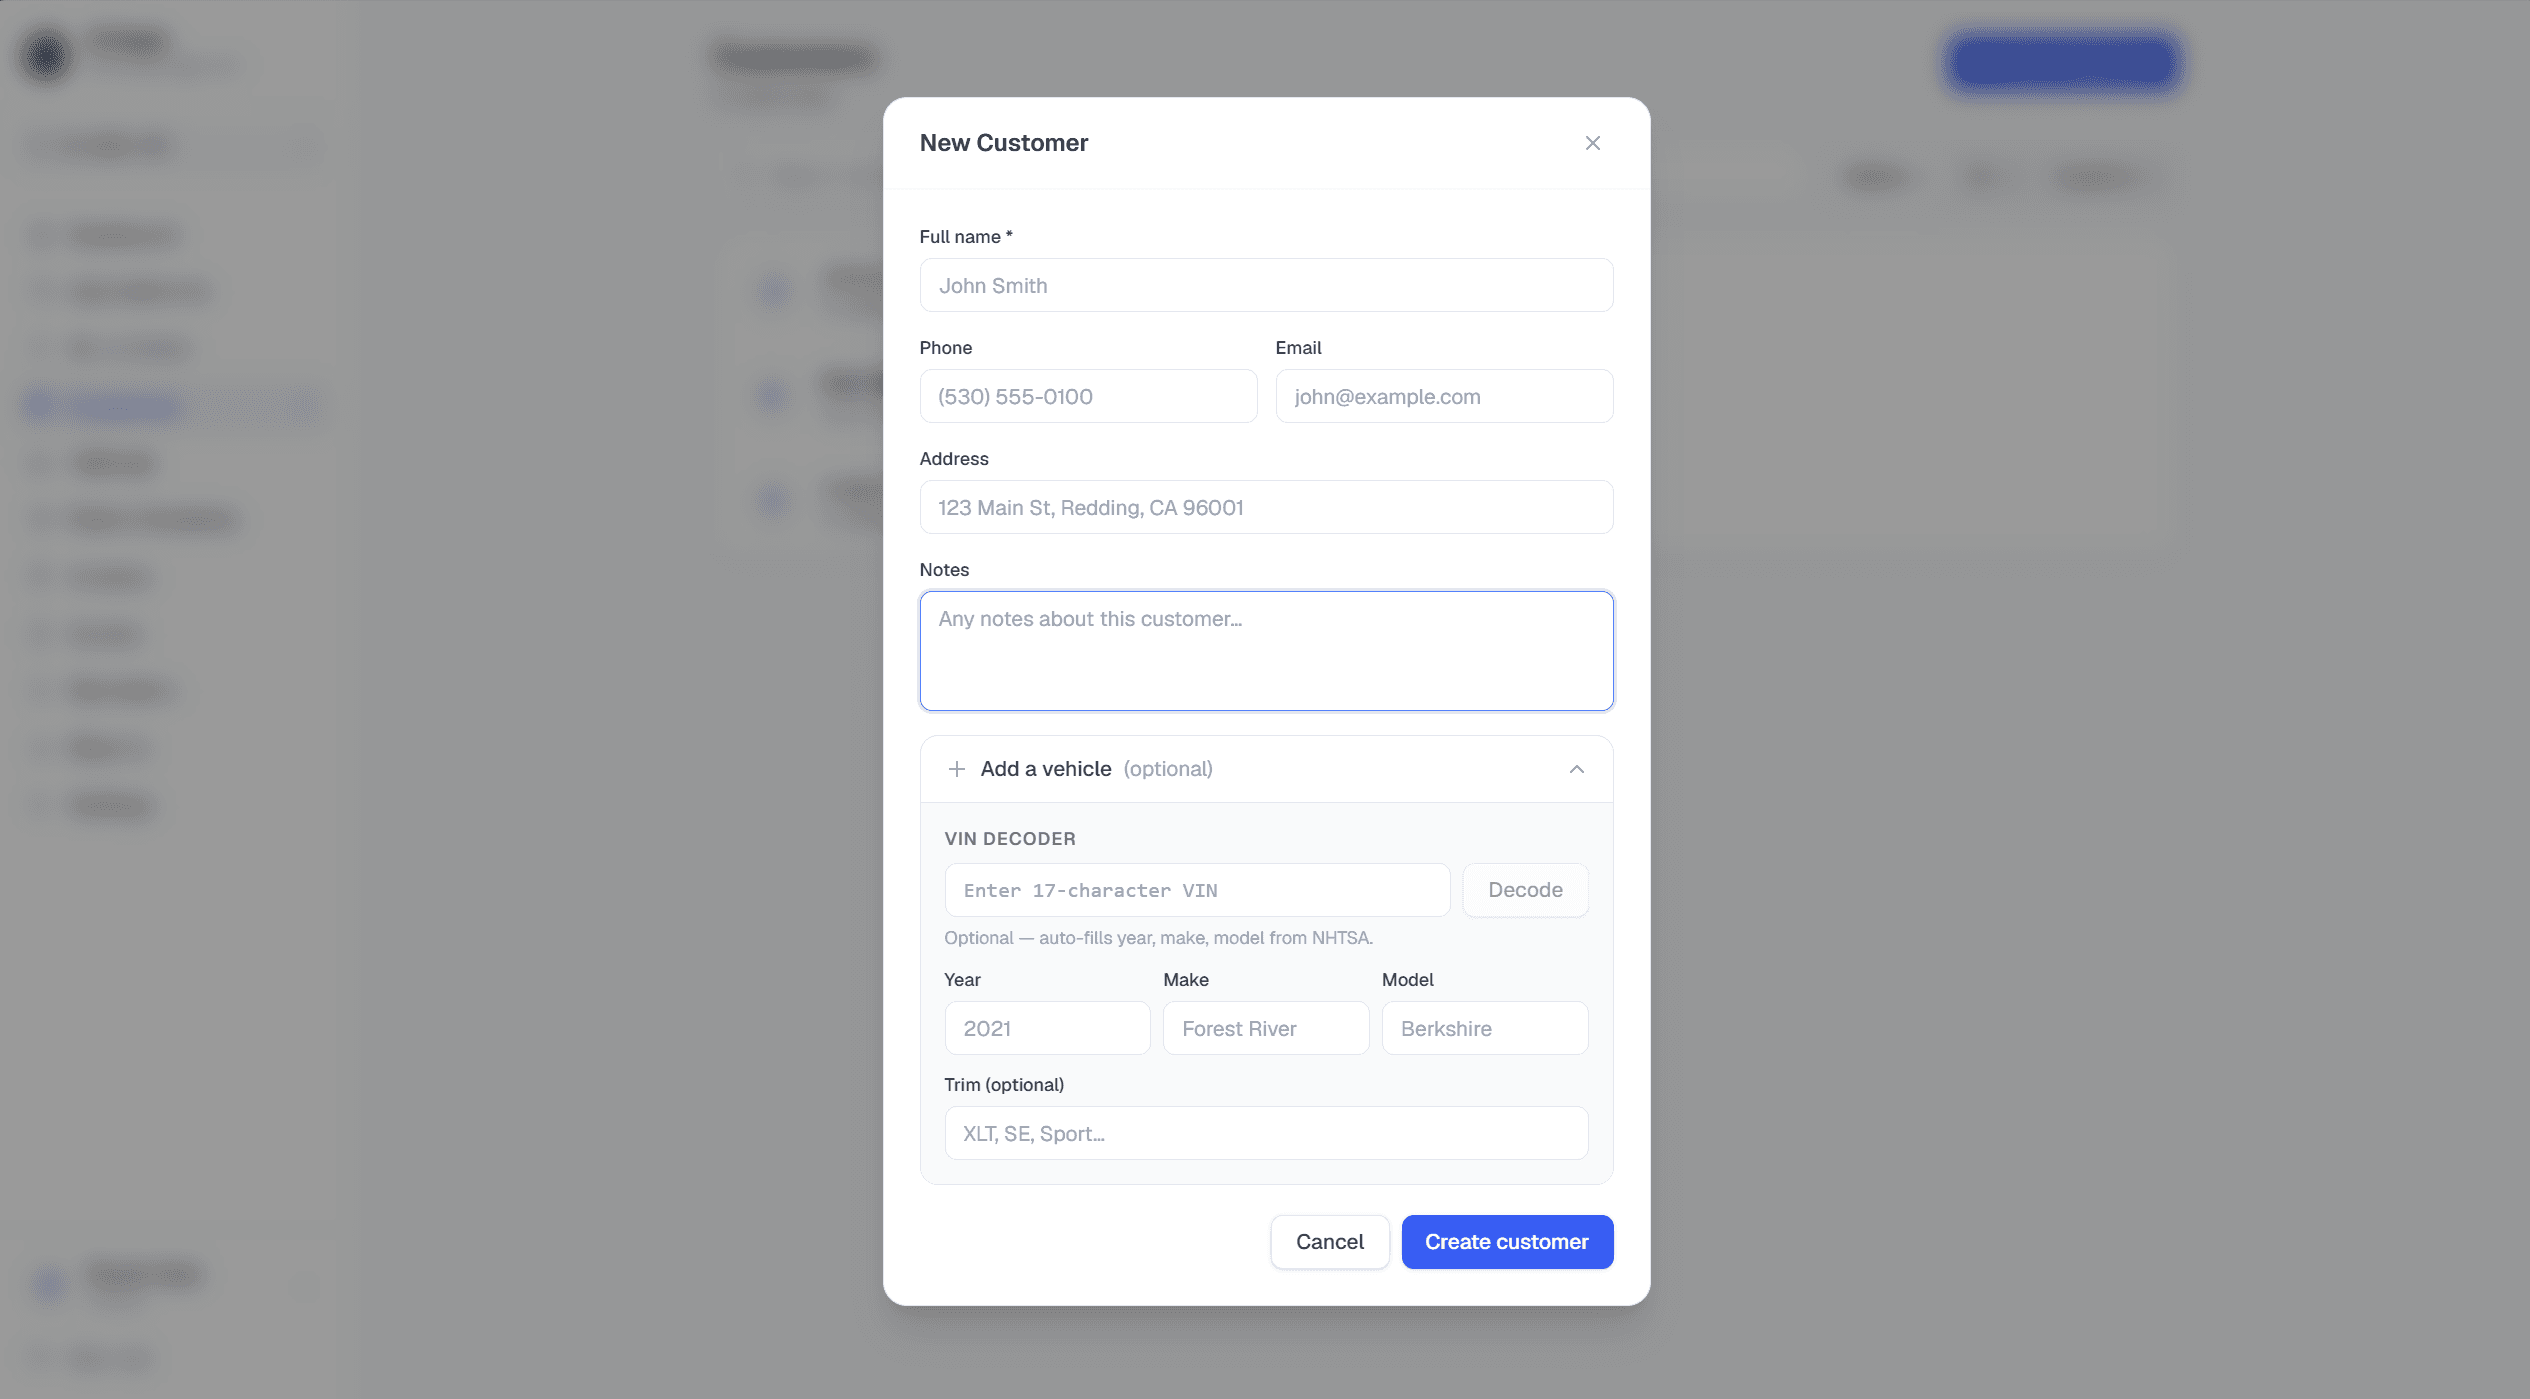
Customers are shared across your entire organization. Add them once and they're available at all your locations.
You can add vehicles later from the customer's detail page. A customer can have multiple vehicles.
Create your first work order
Create your first work order
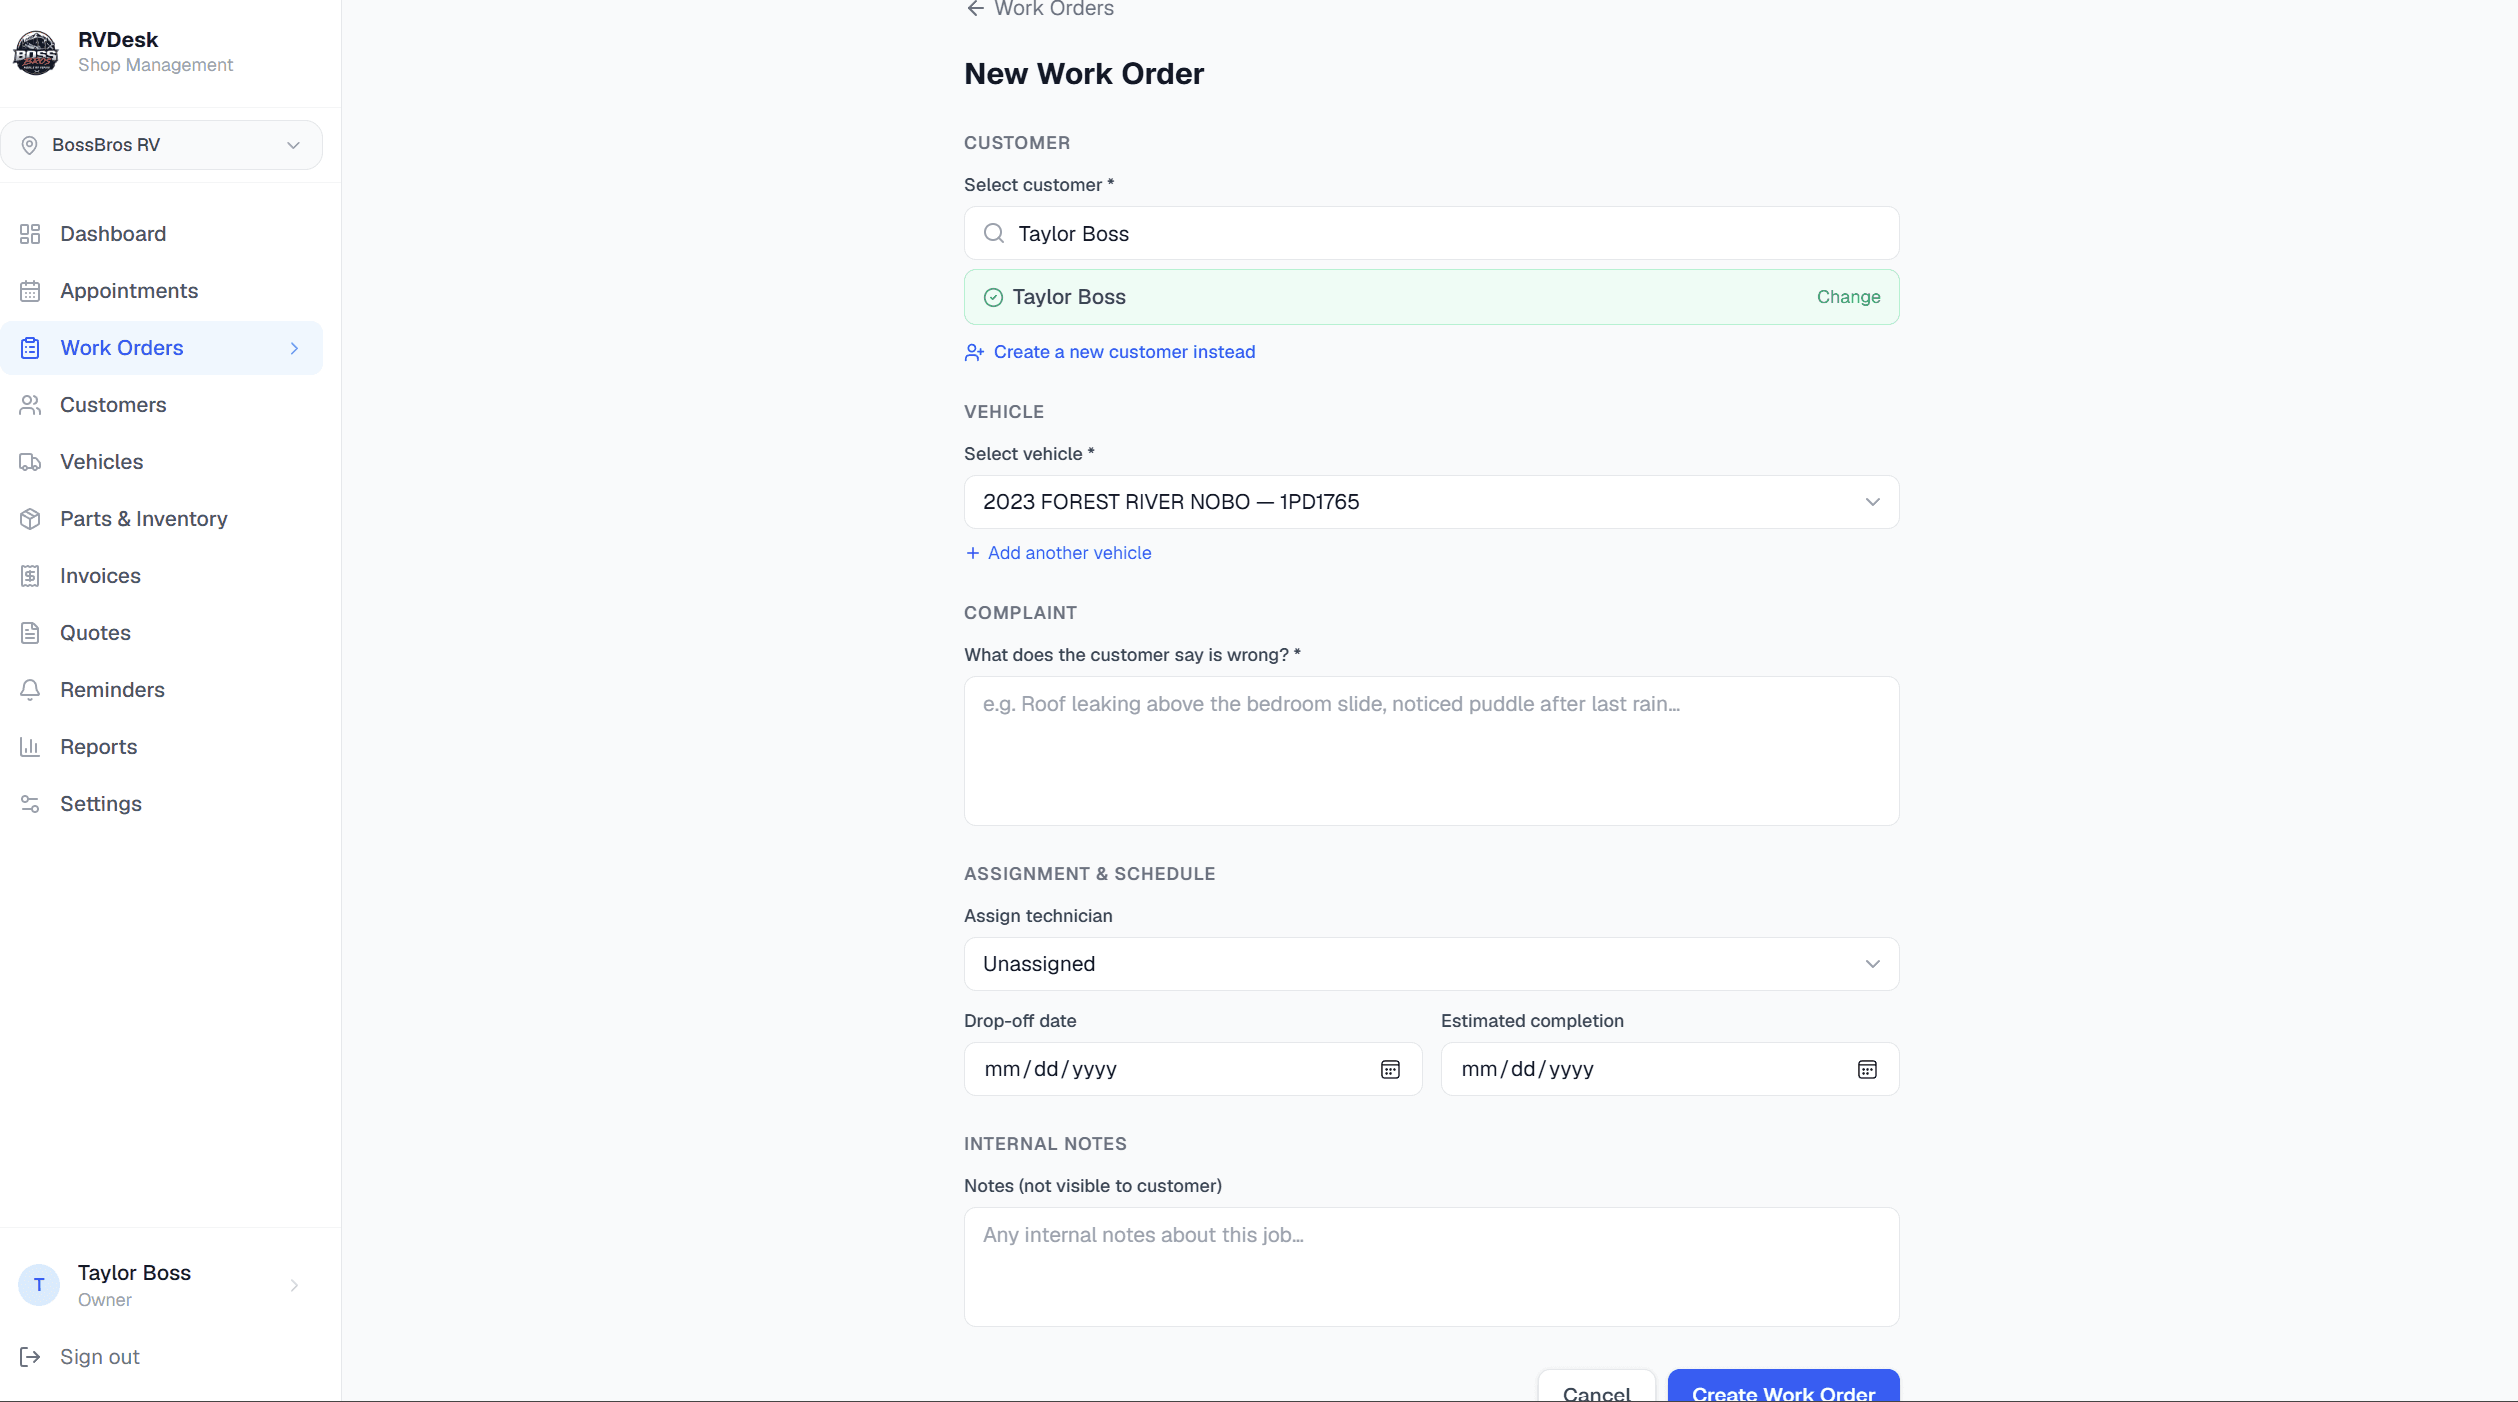
Work orders track everything from intake to invoice. This is where most of your day-to-day activity happens.
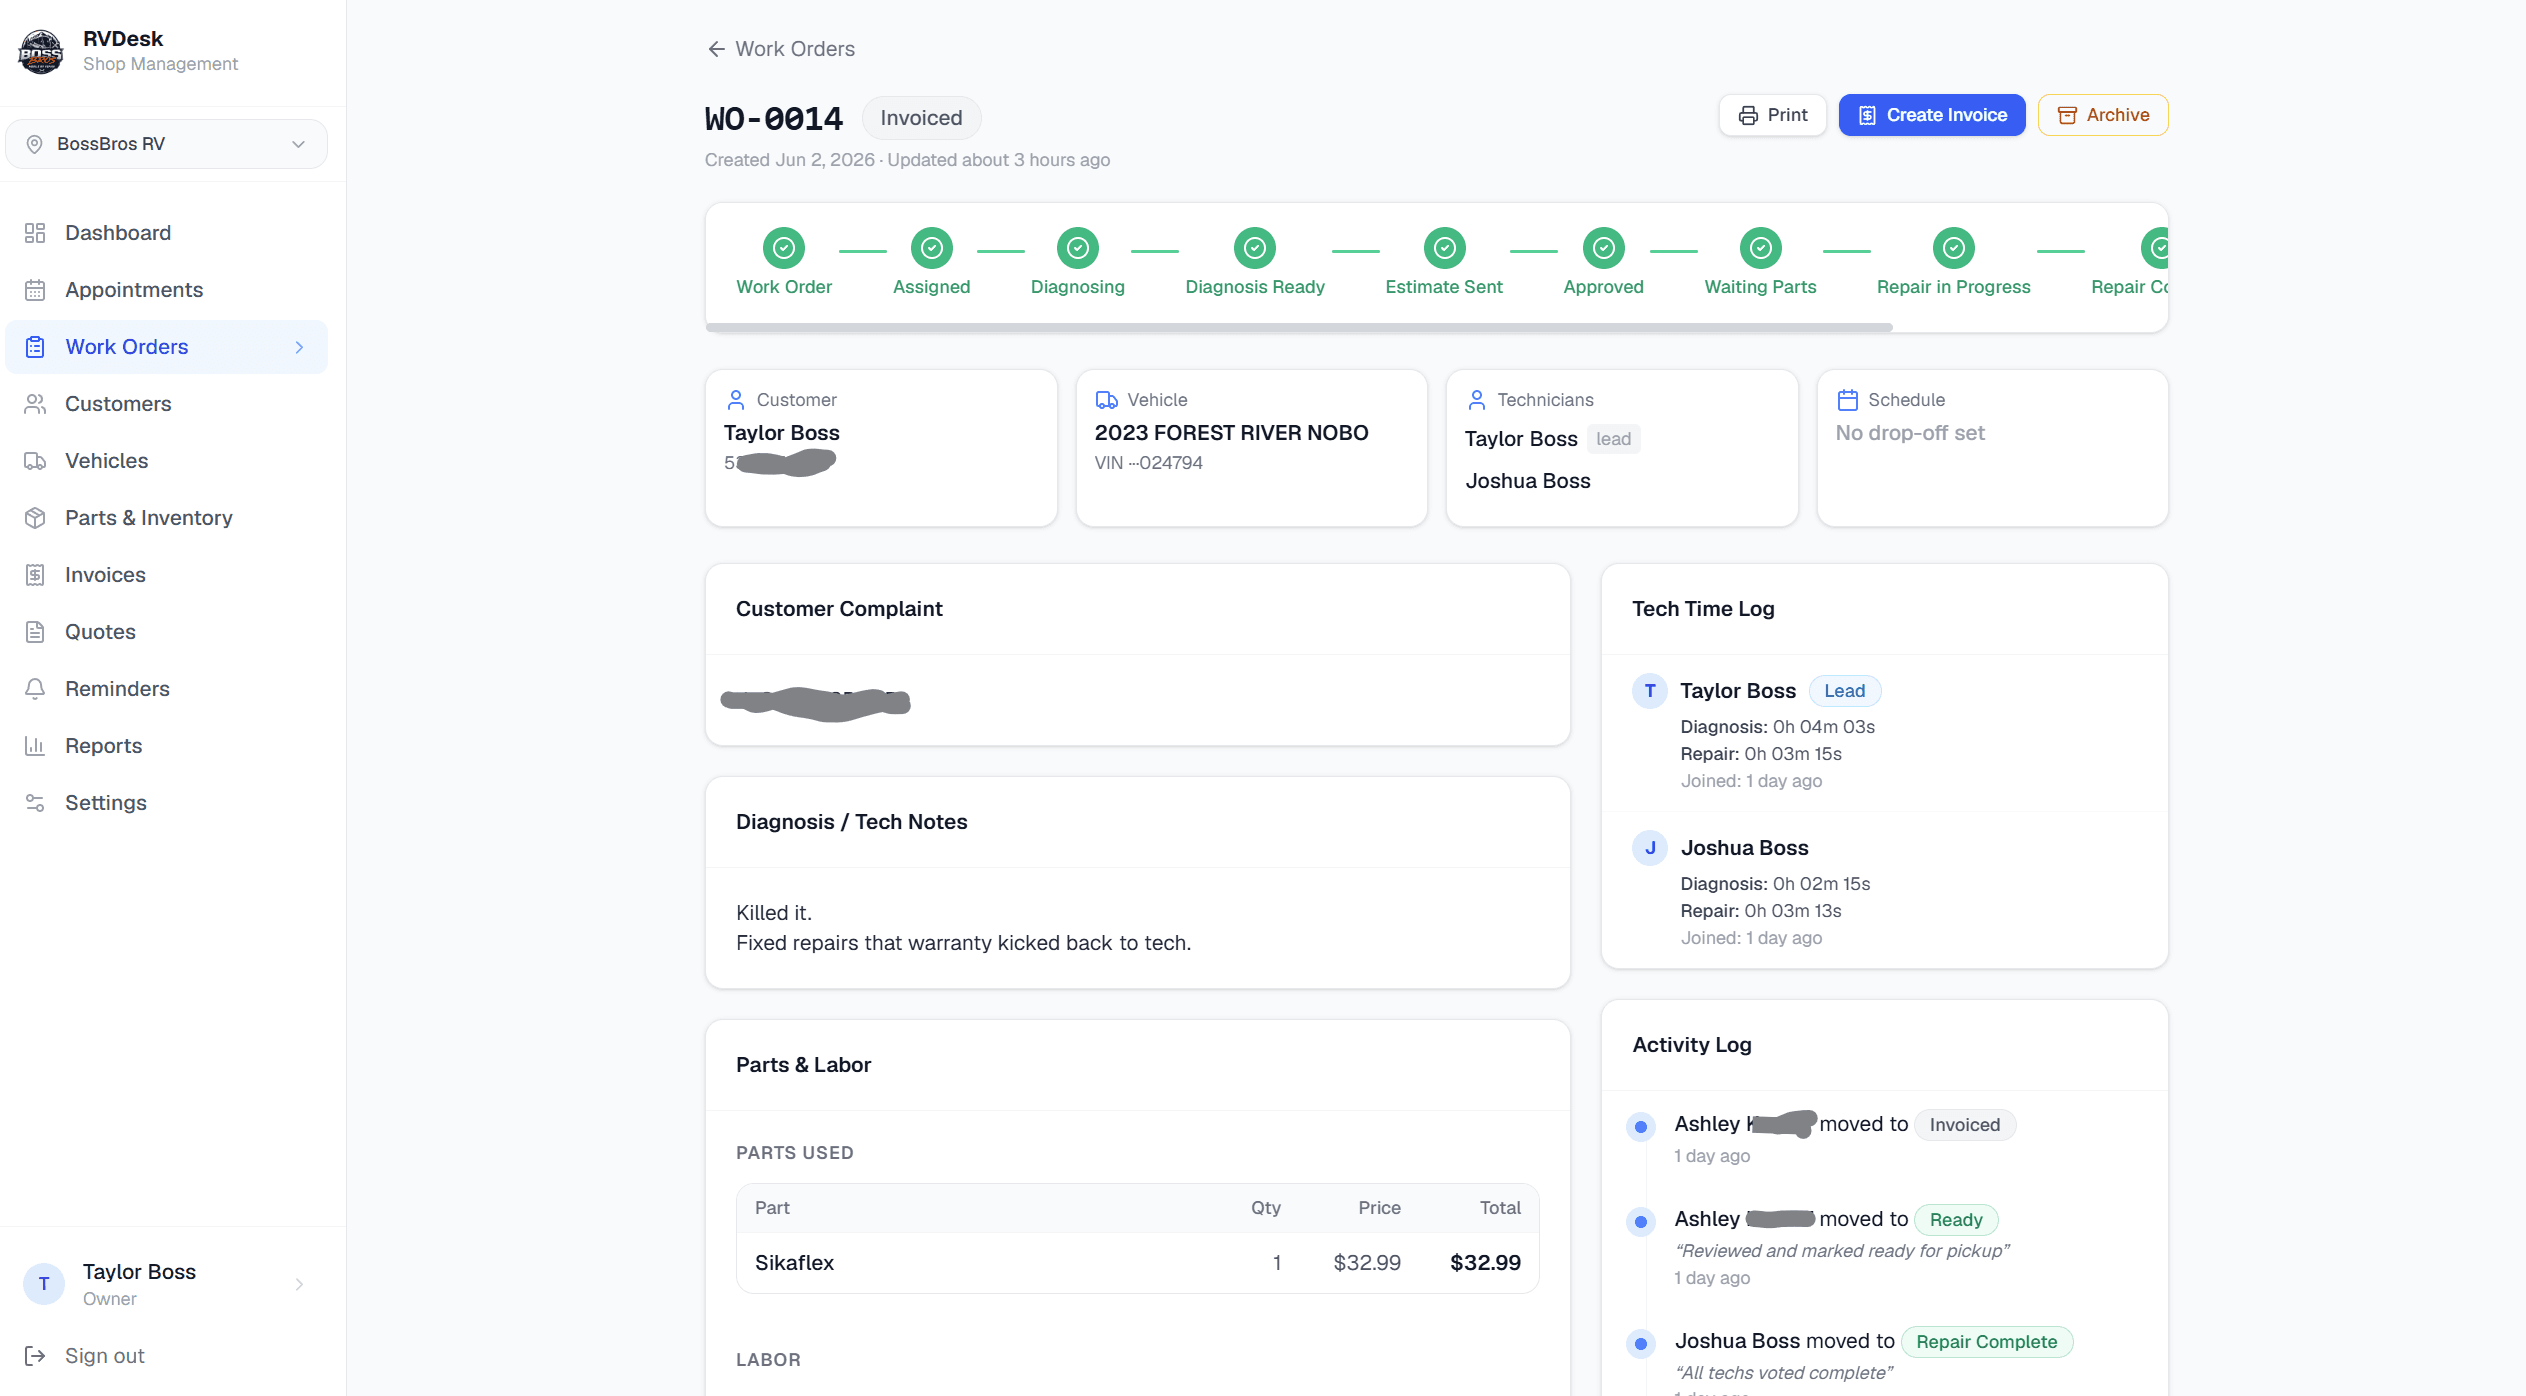
Work orders move through statuses: Checked In → In Progress → Waiting Parts → Ready → Completed.
Send an estimate for customer approval
Send an estimate for customer approval
Once you've added parts and labor, send the estimate to the customer. They can approve or request changes online — no phone call needed.
The customer approval link works on any device — no app download required for customers.
Mark the job complete and create an invoice
Mark the job complete and create an invoice
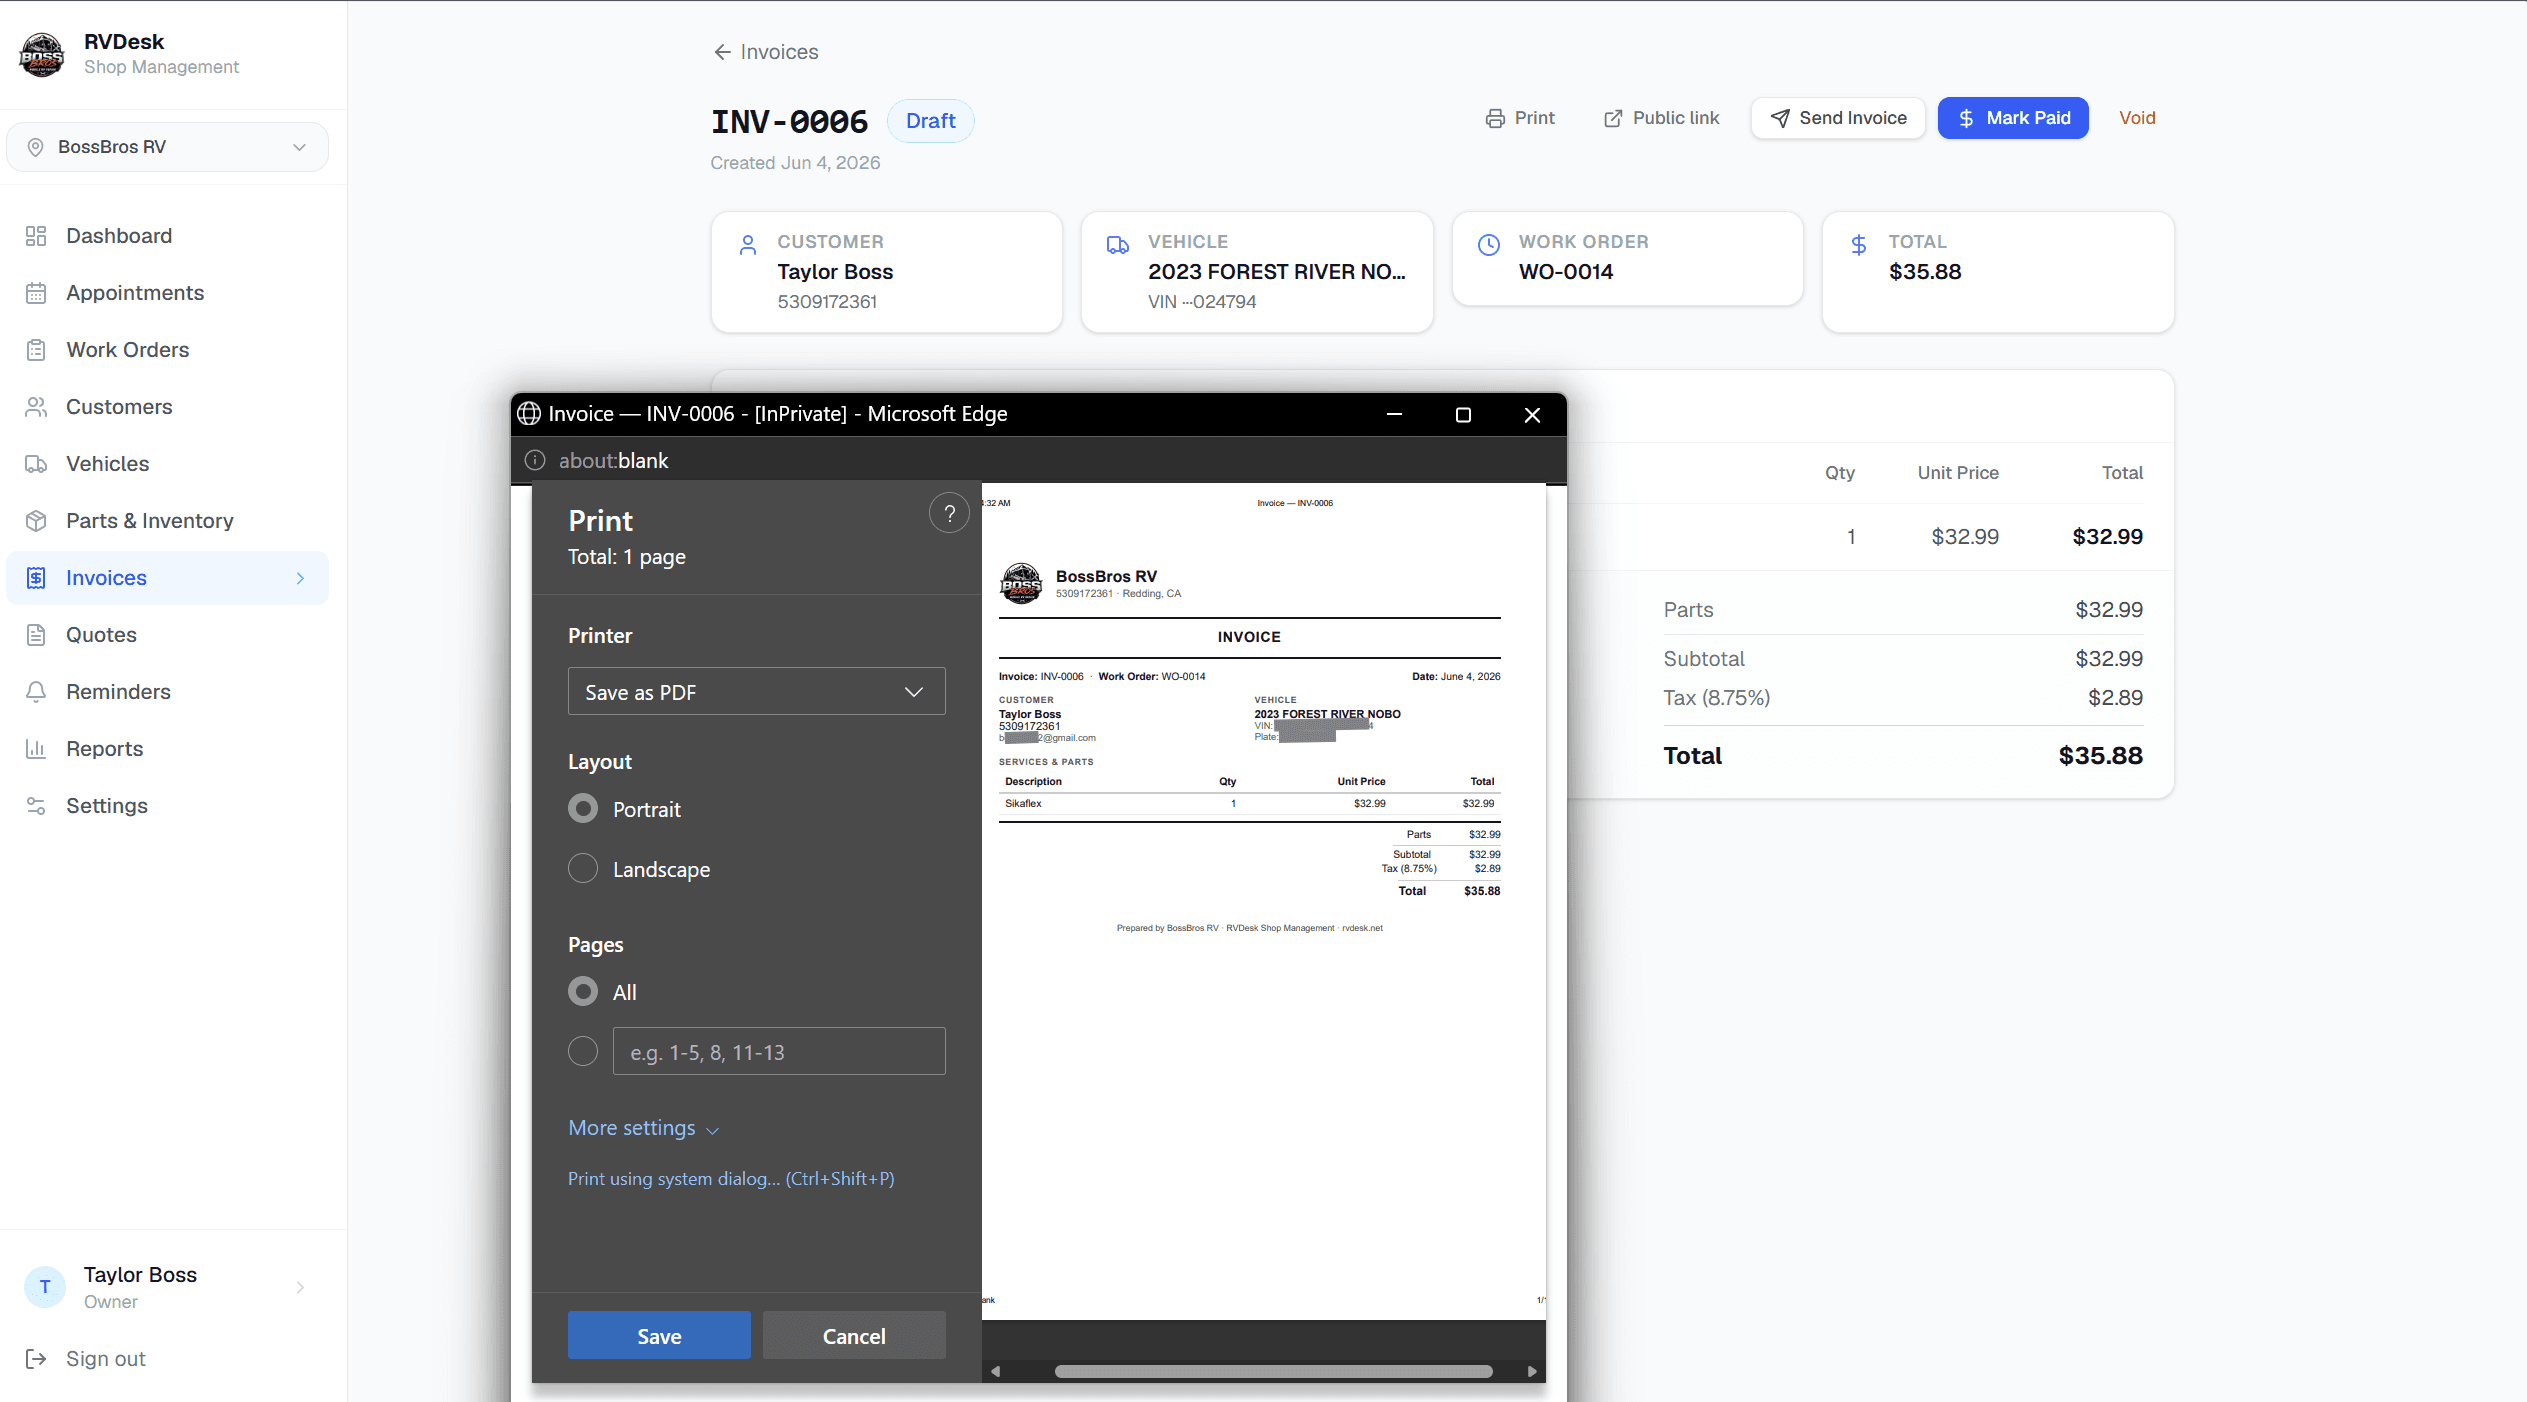
When the work is done, change the status to Ready and create an invoice from the work order with one click.
Invoices are linked to their work order. You can view the full job history from the invoice detail page.
Set up parts inventory
Set up parts inventory
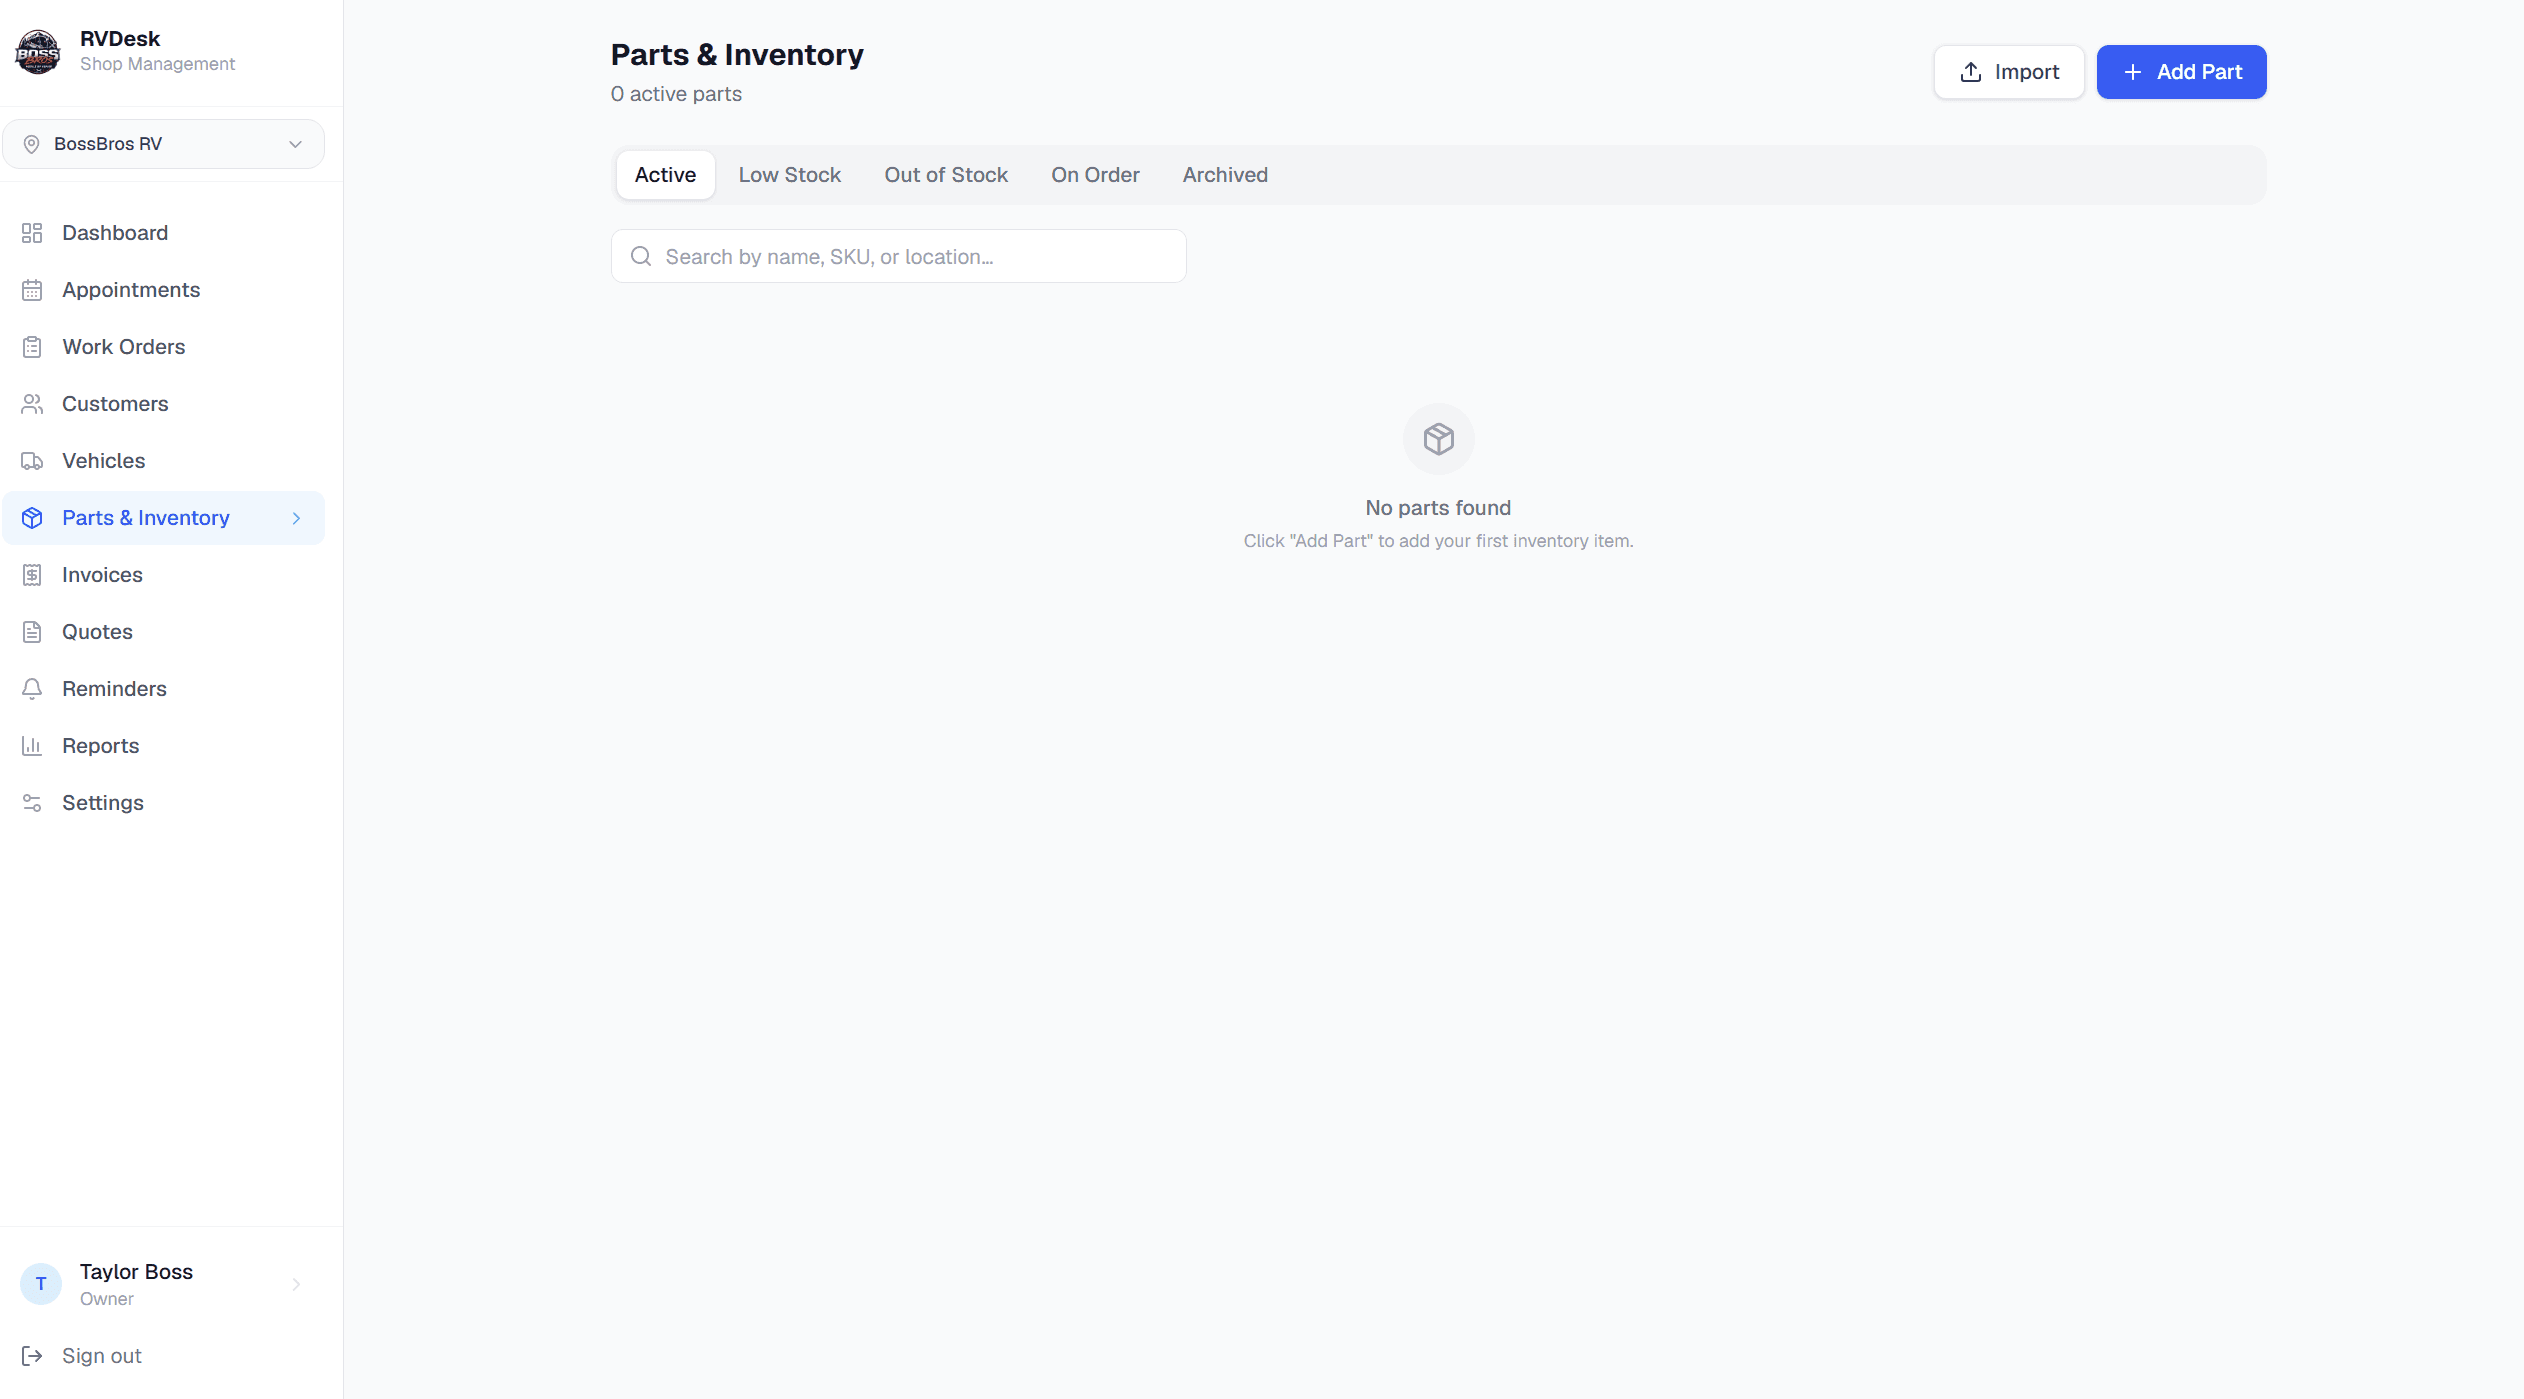
Track the parts you stock, their cost, and how many you have on hand. Get alerts when stock runs low.
Parts added to work orders automatically reduce inventory. You'll see a low-stock badge when quantity falls below your minimum.
Add a second location (optional)
Add a second location (optional)
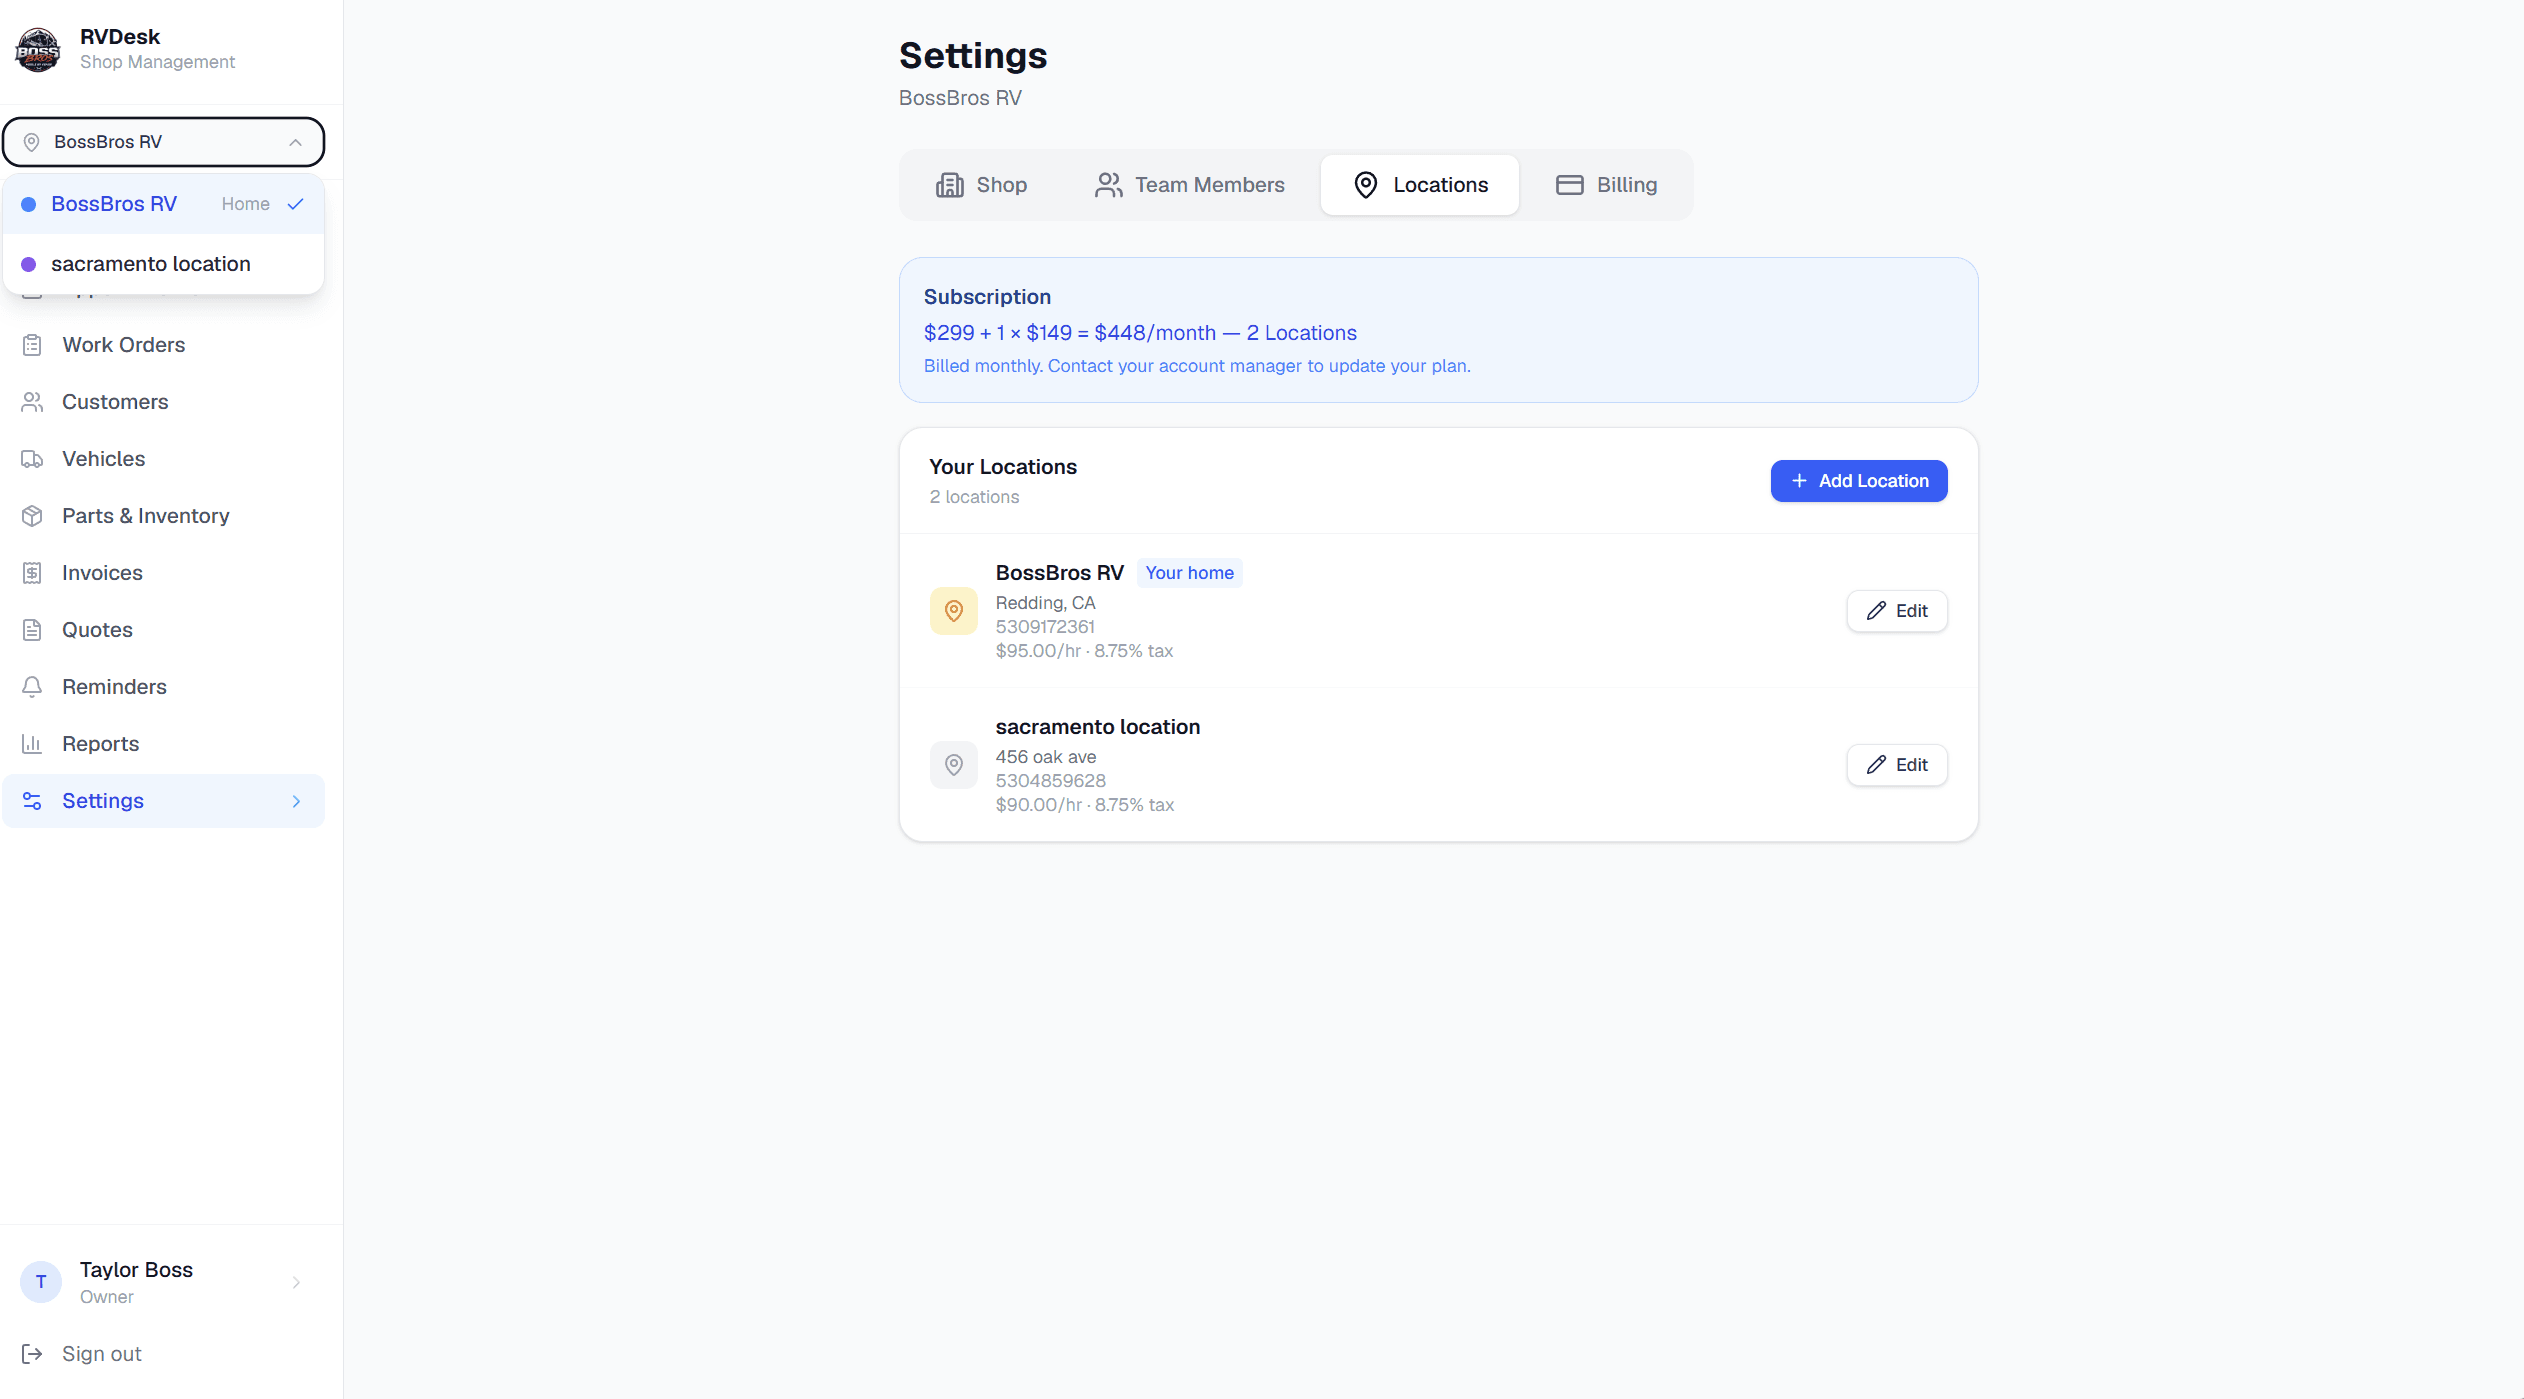
If you have multiple shops, you can add additional locations. Each location shares your customer database but has its own team and work orders.

Customers and vehicles are shared across all locations. Work orders and invoices are location-specific.
View reports
View reports
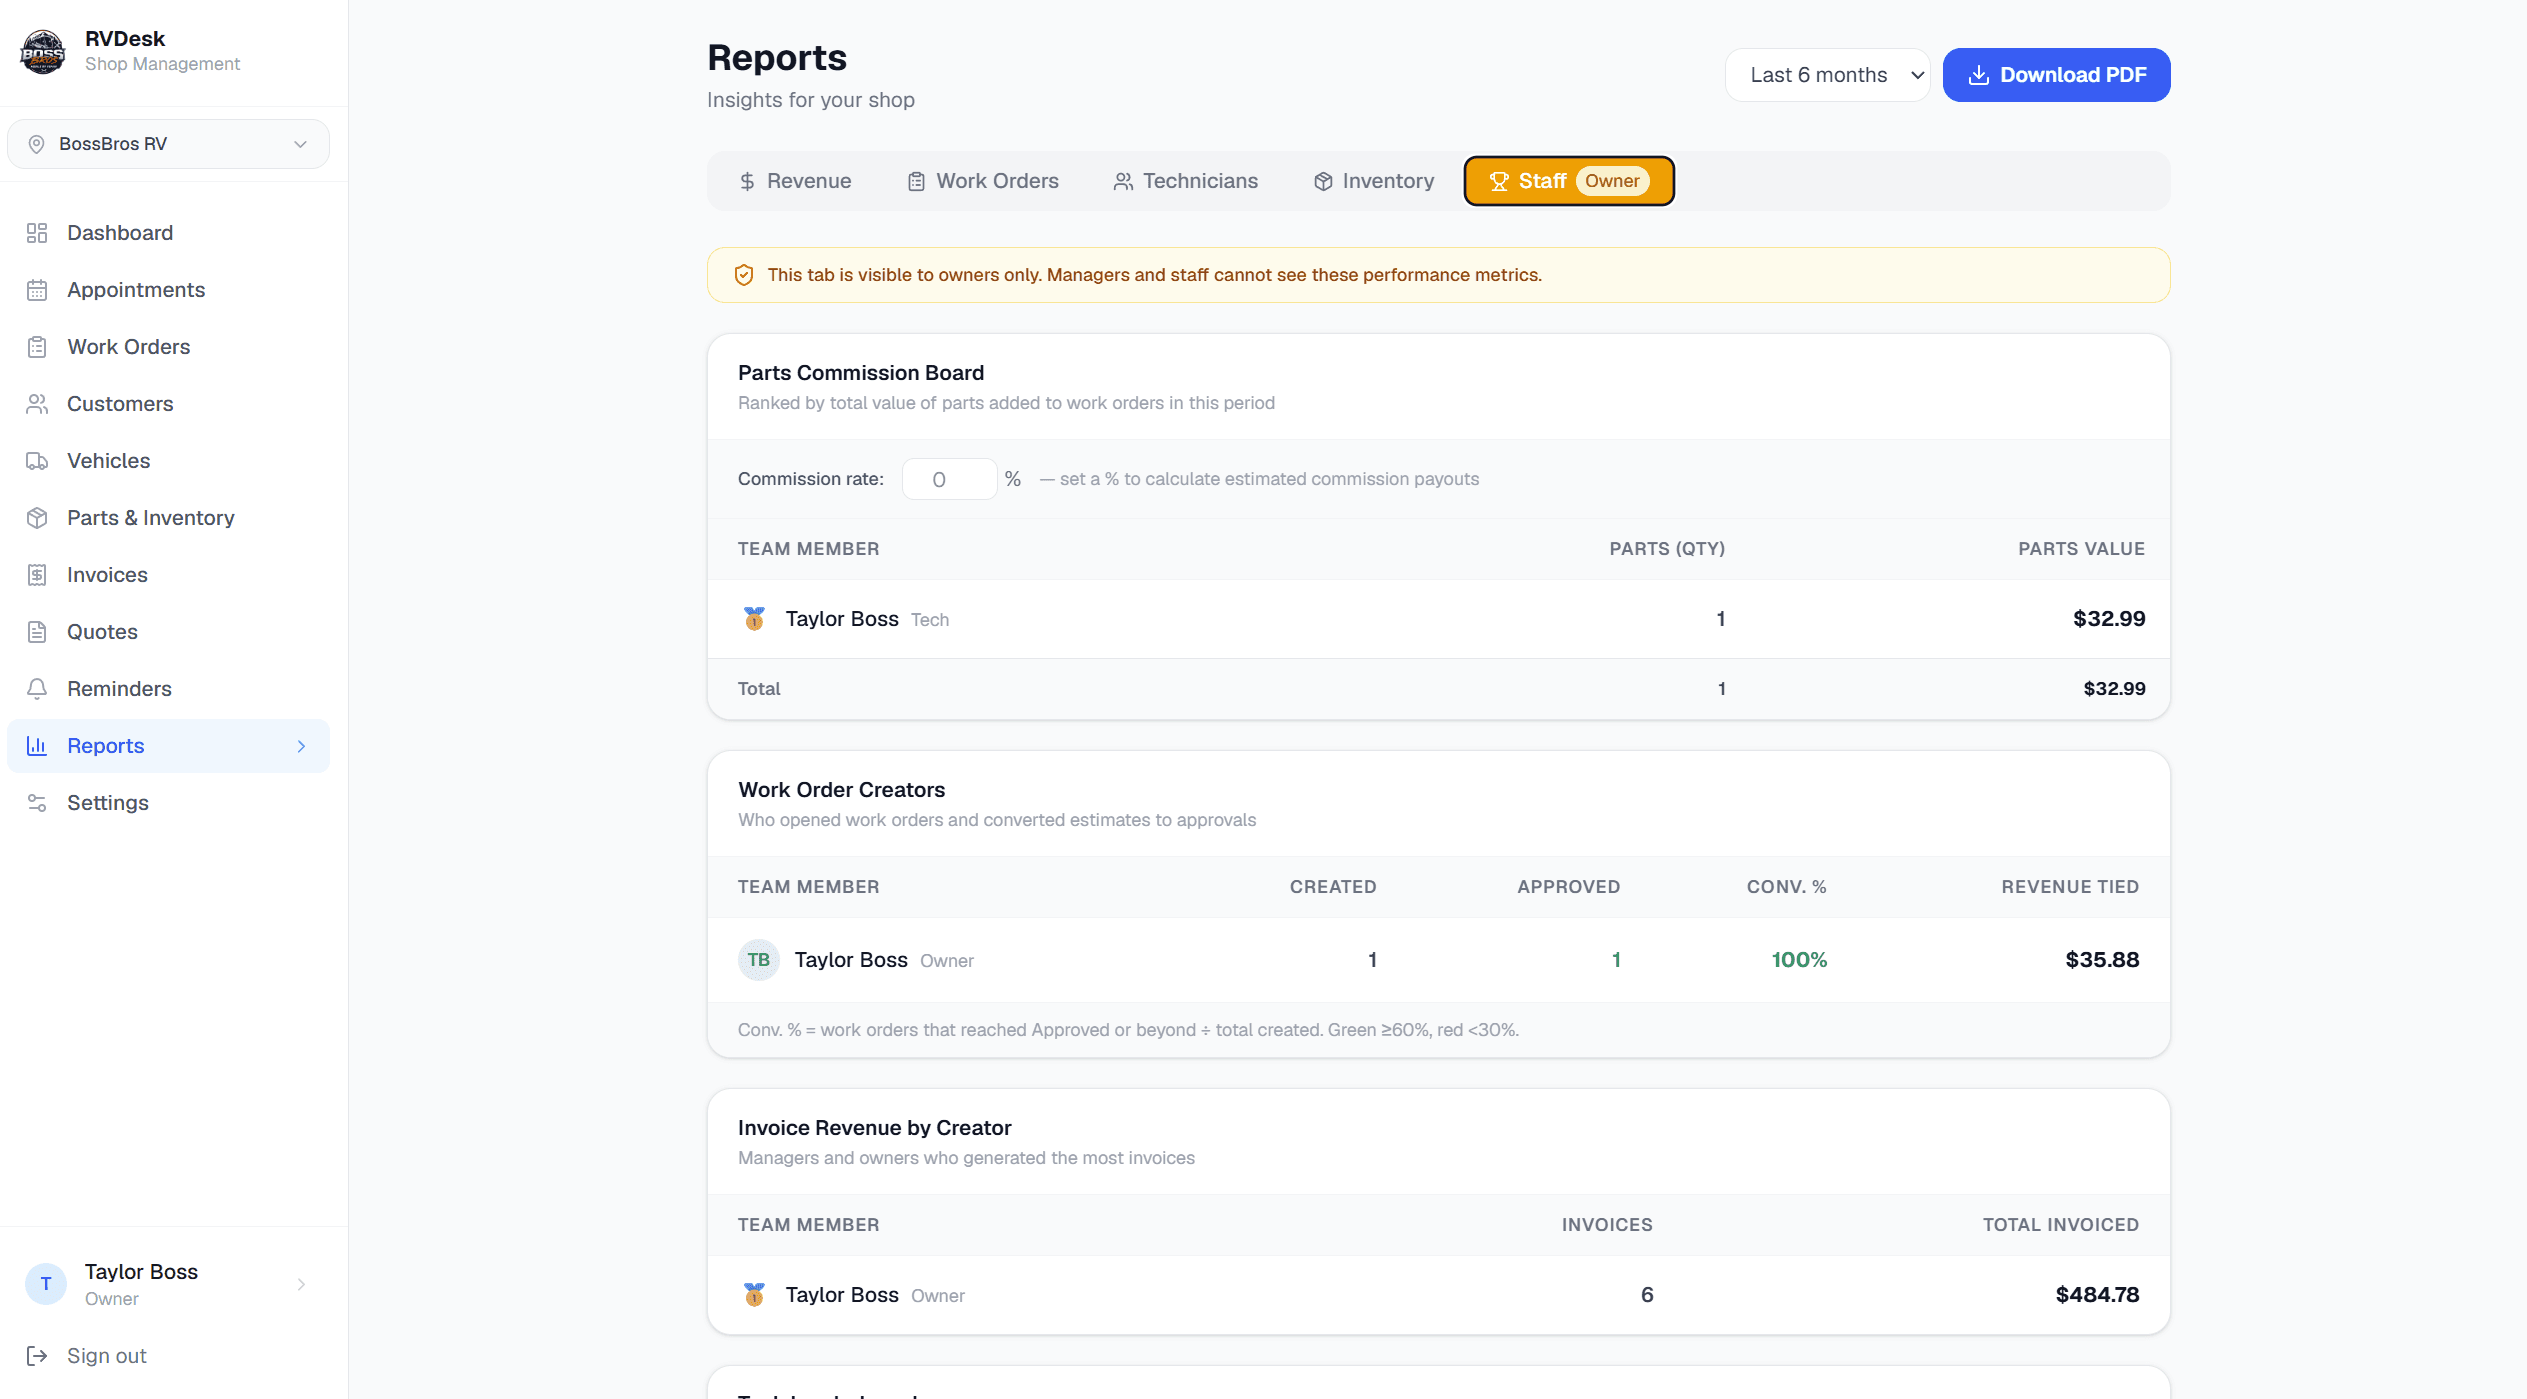
The Reports section shows your shop's revenue, work order volume, and tech productivity — updated in real time.

Run a weekly revenue report every Monday to stay on top of how the shop is performing.
Ready to get started?
Your 14-day free trial starts the moment you sign up.
Create your accountStill have questions? Contact us